
The restoration of a bent and twisted ersatz bayonet blade
For any collector, there are times before buying a bayonet where often
arises the question whether it's worth buying a piece in poor
condition, rusted, bent, twisted. But sometimes the choice is easier
when we find a rare one and even if it is damaged, we buy it. This is
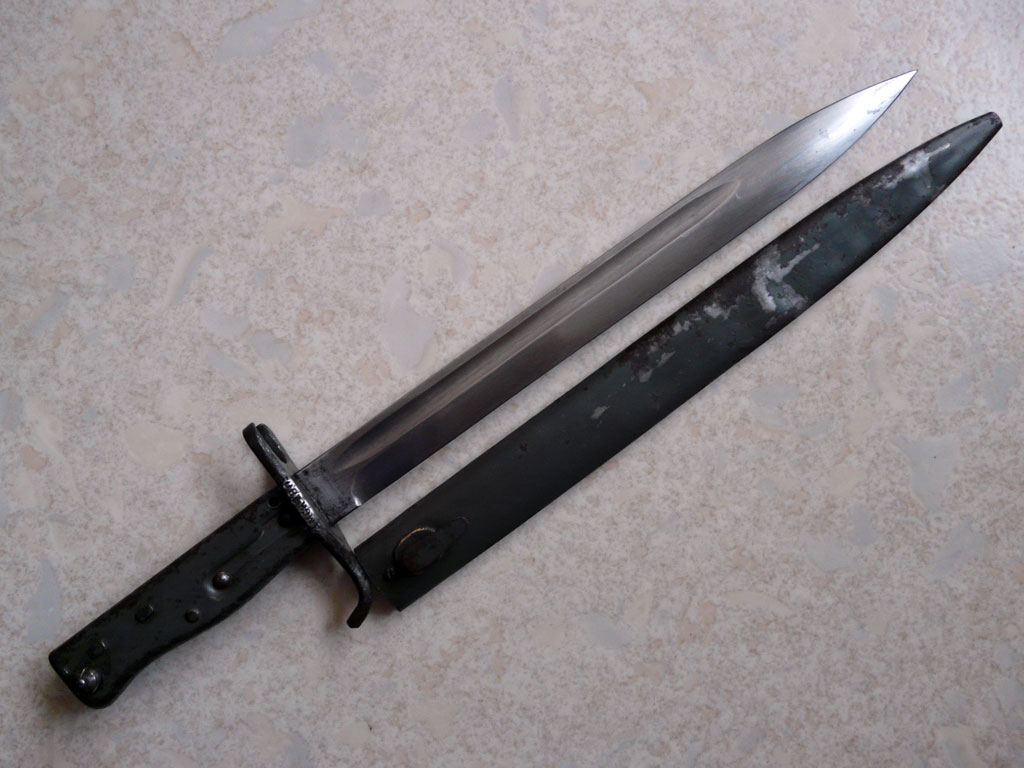
the case for this interesting regimental marked ersatz bayonet.
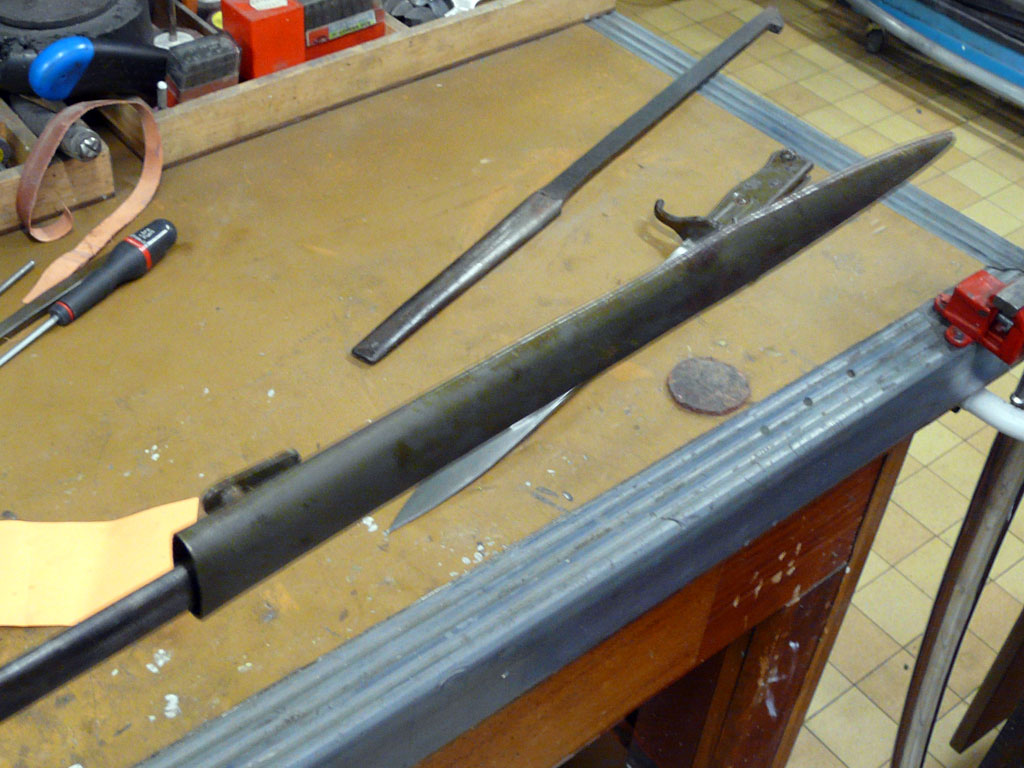
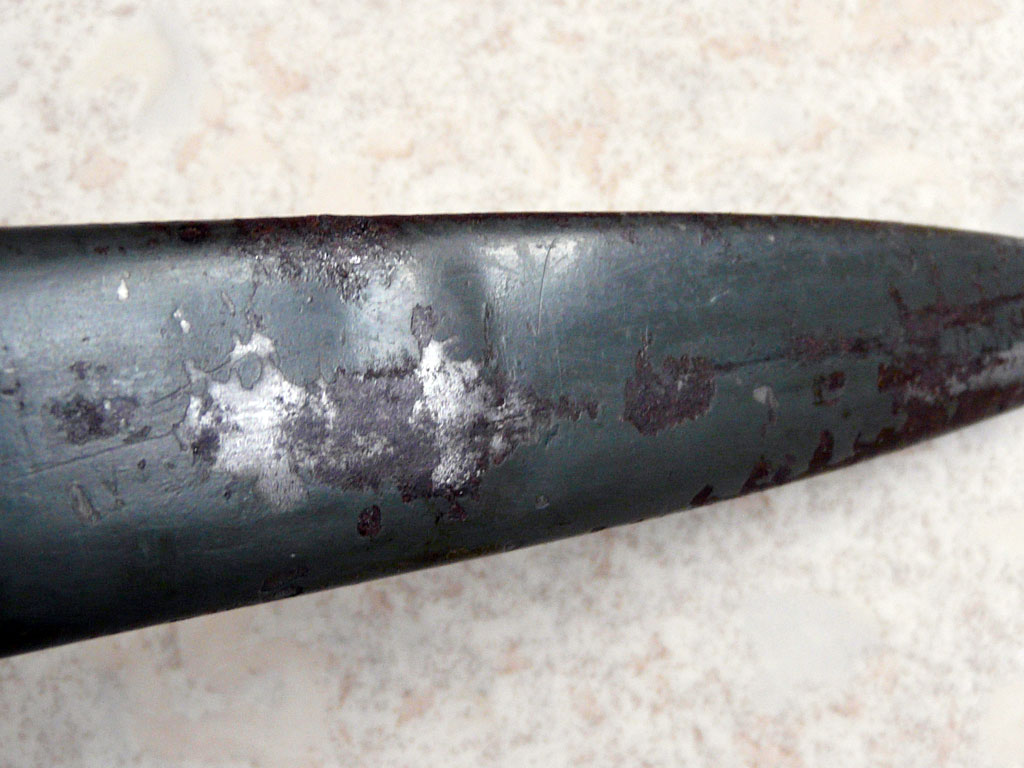
This ersatz bayonet has a rusty, bent and twisted blade. We notice the remarkable conservation of the paint which indicates that it hasn’t been used a lot.
In this page, we will see
that there are some opportunities to straighten the blade and the
scabbard, but also to release the press stud blocked by the rust : (click on pictures for
details). We are
going to start with the scabbard which is made of a thin steel sheet.
It is easier to straighten.
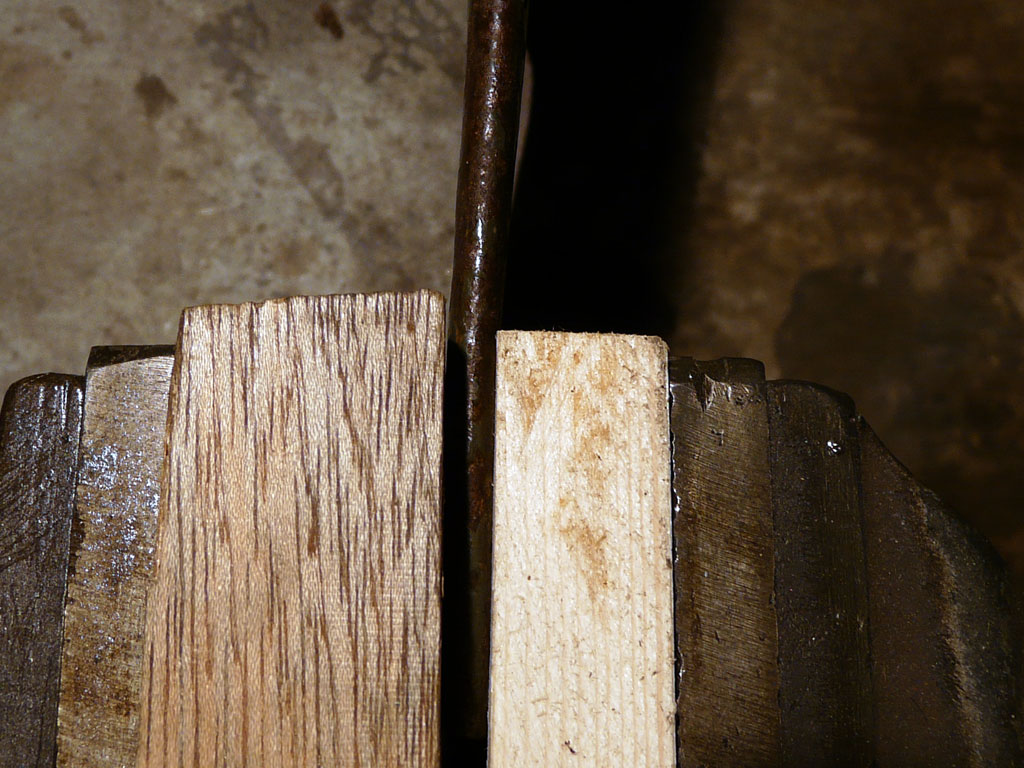
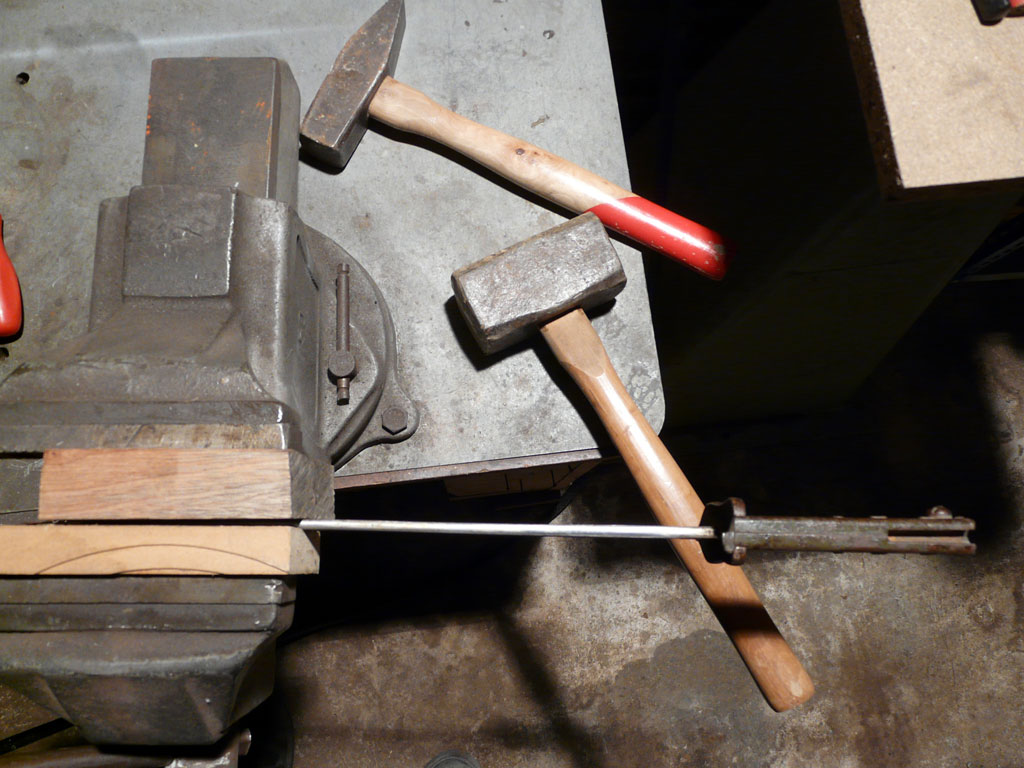
I began to use a wooden vice .
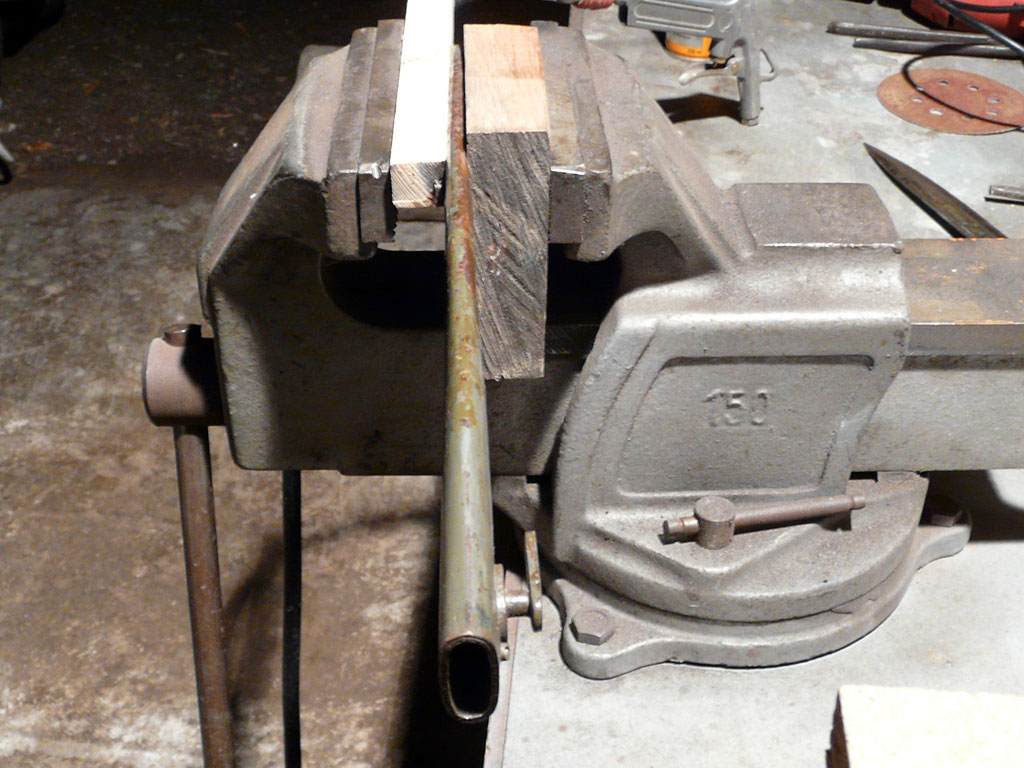
But the resistance of the scabbard was stronger and I had to use a steel vice with wooden protections to prevent from scratches. Then, I hit slowly with a hammer and a piece of wood.
It is important to go slowly step by step to prevent the breakage of the scabbard welding.

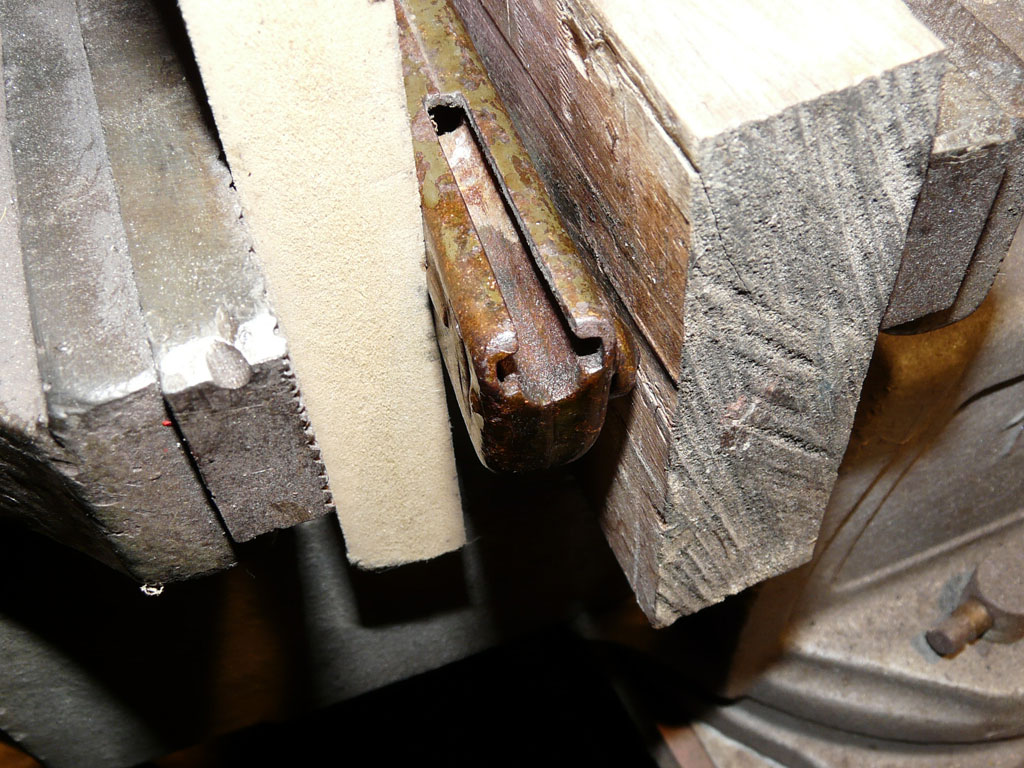
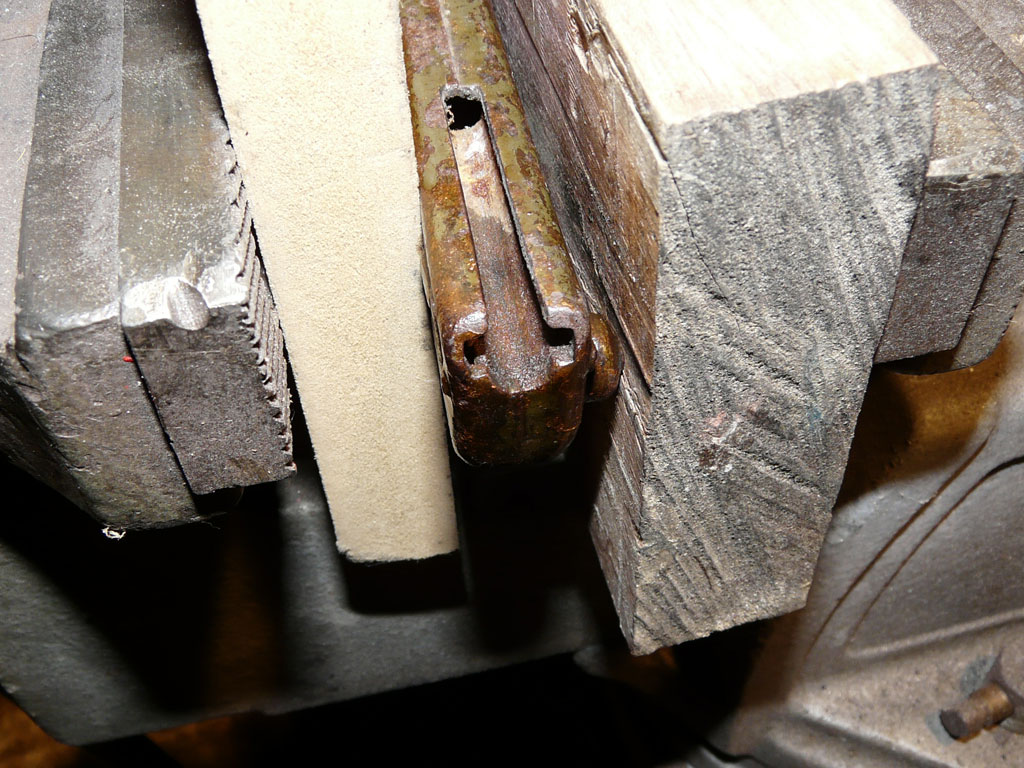
It is strictly forbidden
to tighten the jaws of the vice to try to straighten a V shape. It
would flatten the curve.
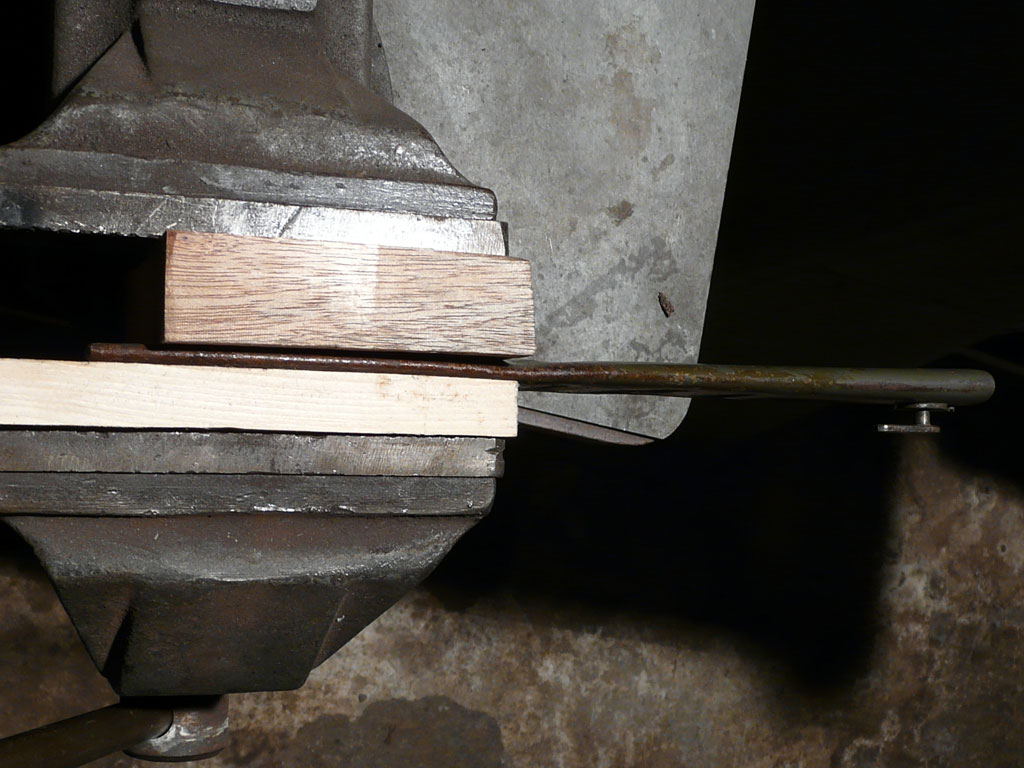
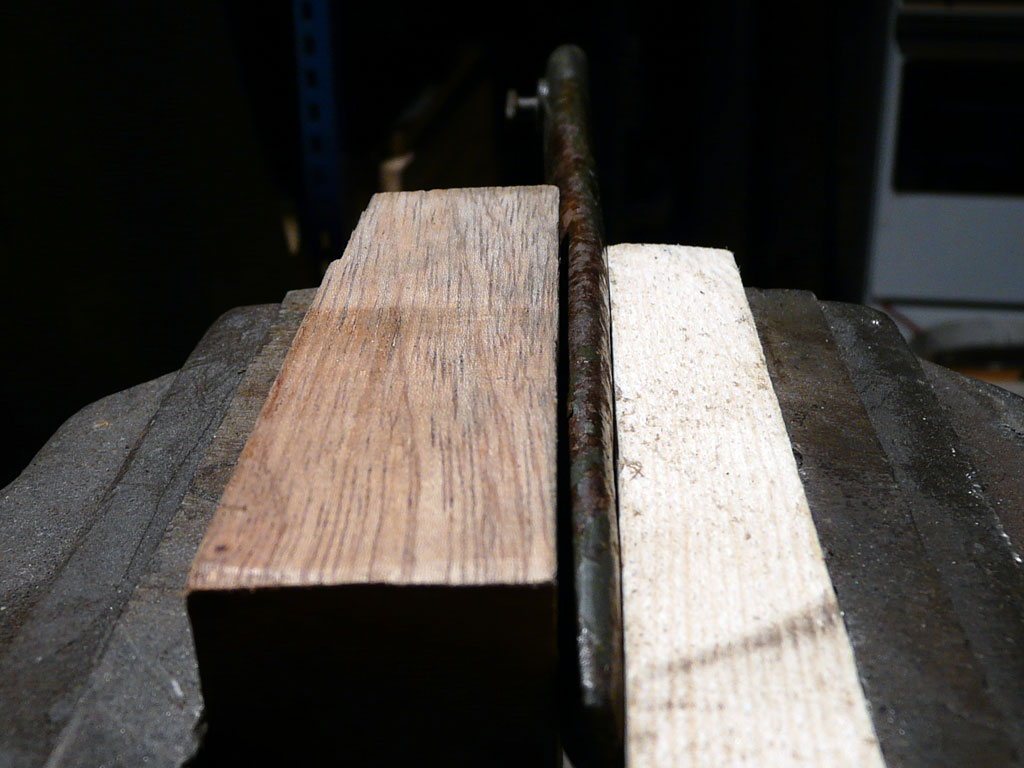
We must put the side of the V along the vice as shown on the right photo to prevent any irreversible damage on other parts. I use a softer wood on the side where the pressure is exercised.
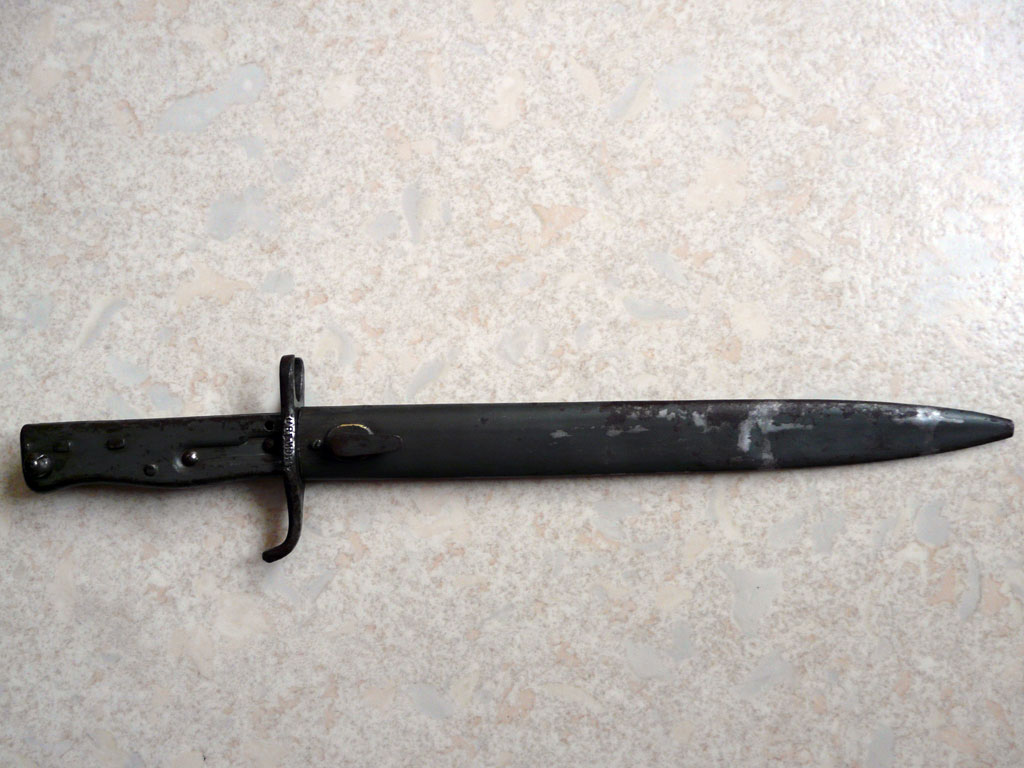
Now the scabbard is
almost straightened and I have to restore the inner curve.
I used a steel mandrel but
the mandrels for ersatz bayonets are rare
and I had to use a French sword mandrel which gave a correct shape
to the scabbard.
The result is quite conclusive. Use lead or copper protections on the
jaws.
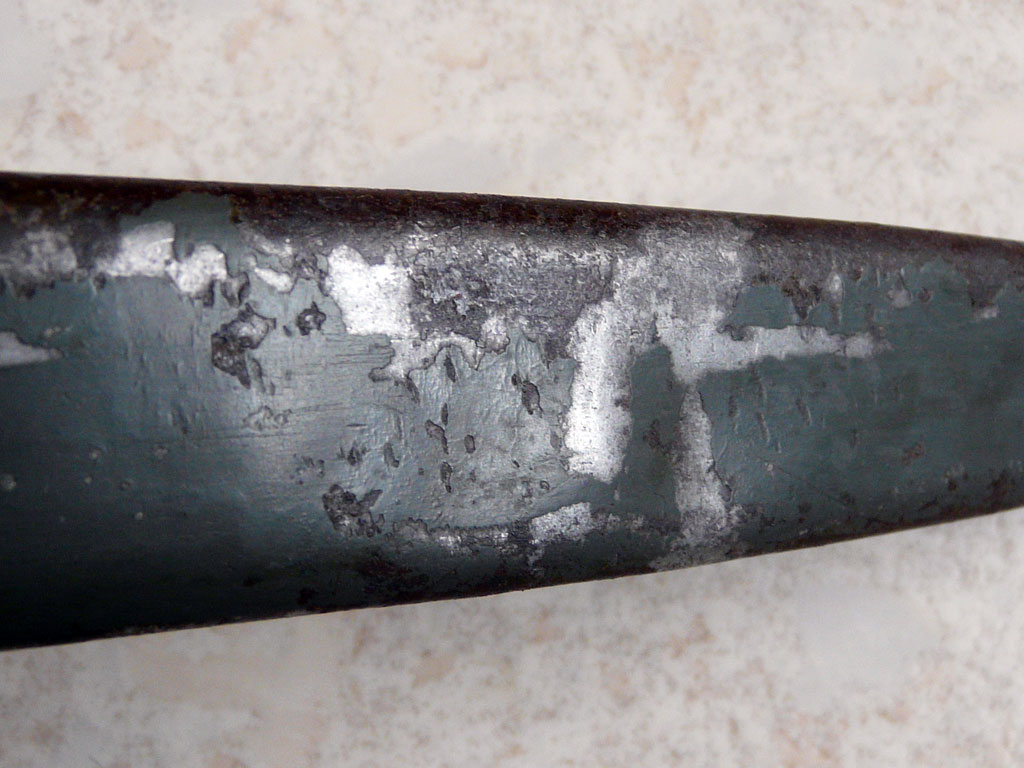
I stopped when I saw the
paint off the scabbard which began to remove.
It looks a little bumpy
but it is acceptable.
In a first time, I focussed on the handle which shown an angle to the
left with the blade.
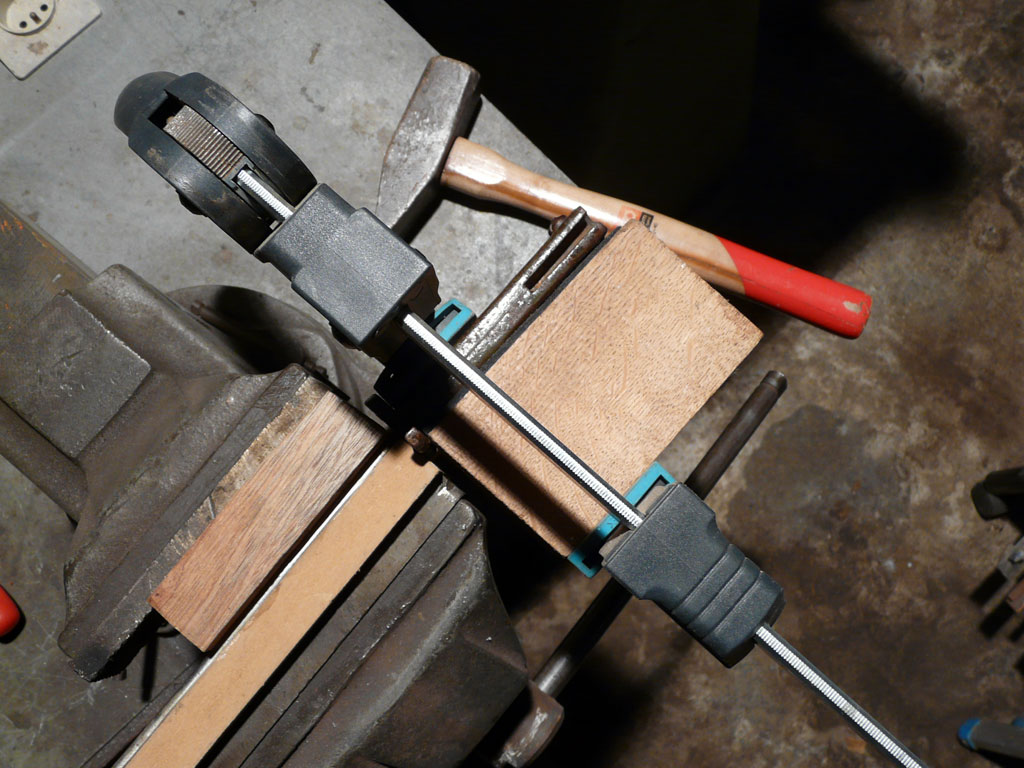
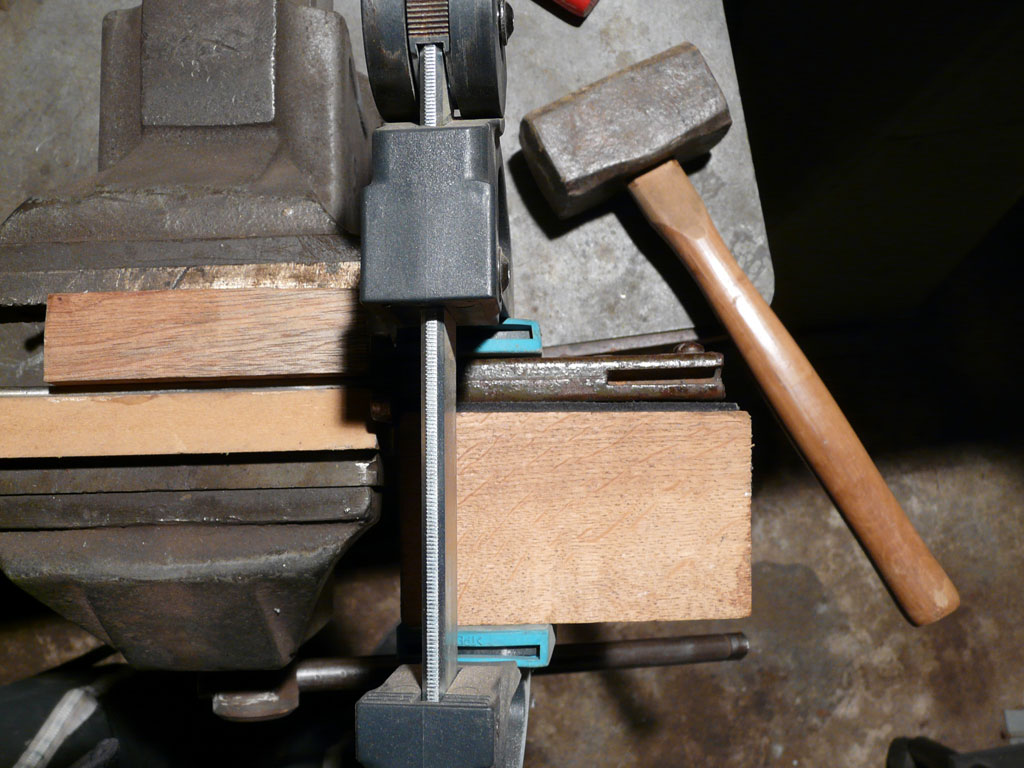
A simple clamp of the
blade in the vice is enough.
We hit with a big
hammer on the wooden block.
At this point the strength of the blade is
quite soft.
It is the easiest point to work because the blade is fairly
elastic.
It is certainly made of molten mixture of mild steel and
carbon around 18% before being soaked in water or oil, making it
brittle if you hit too strongly.
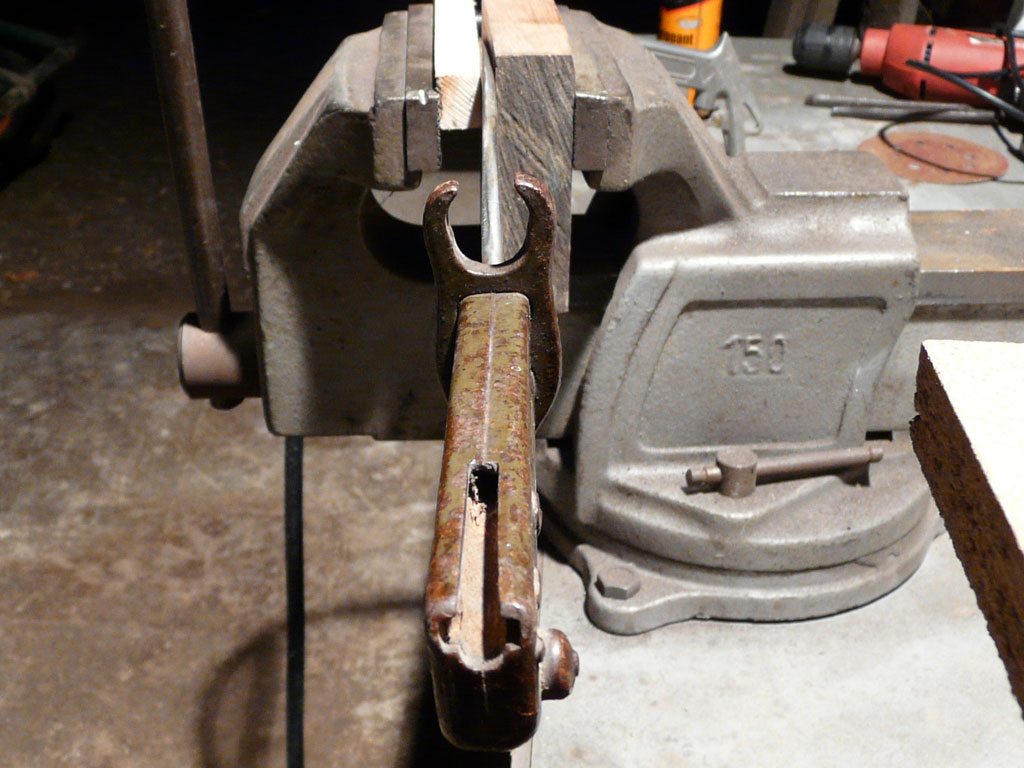
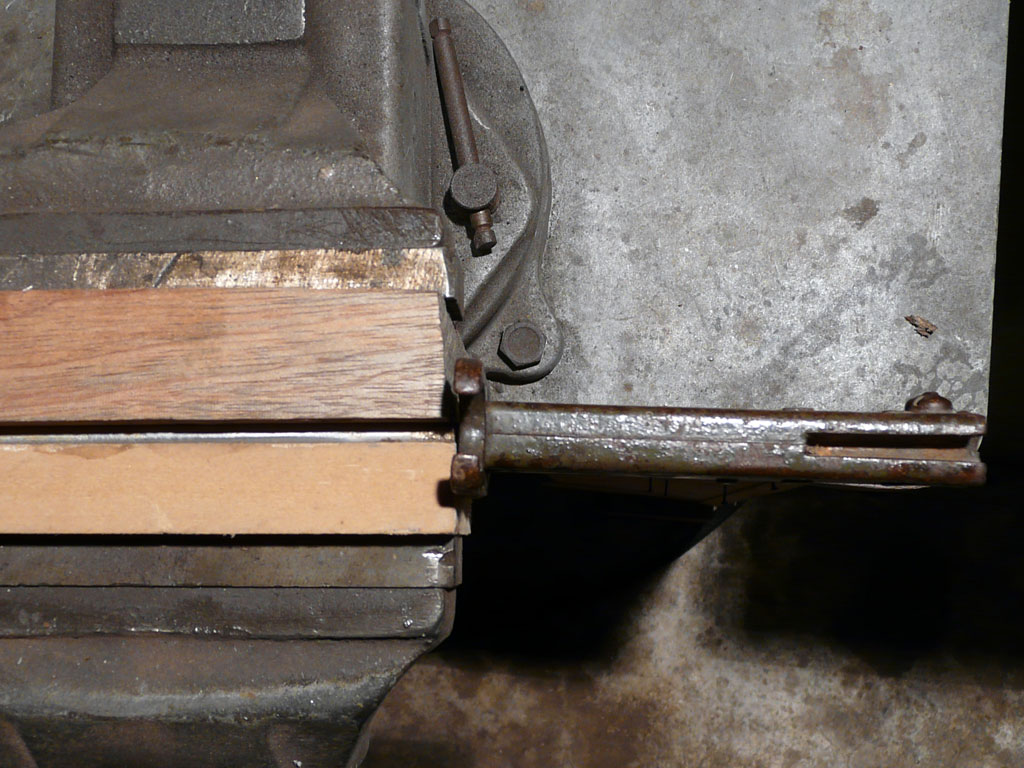
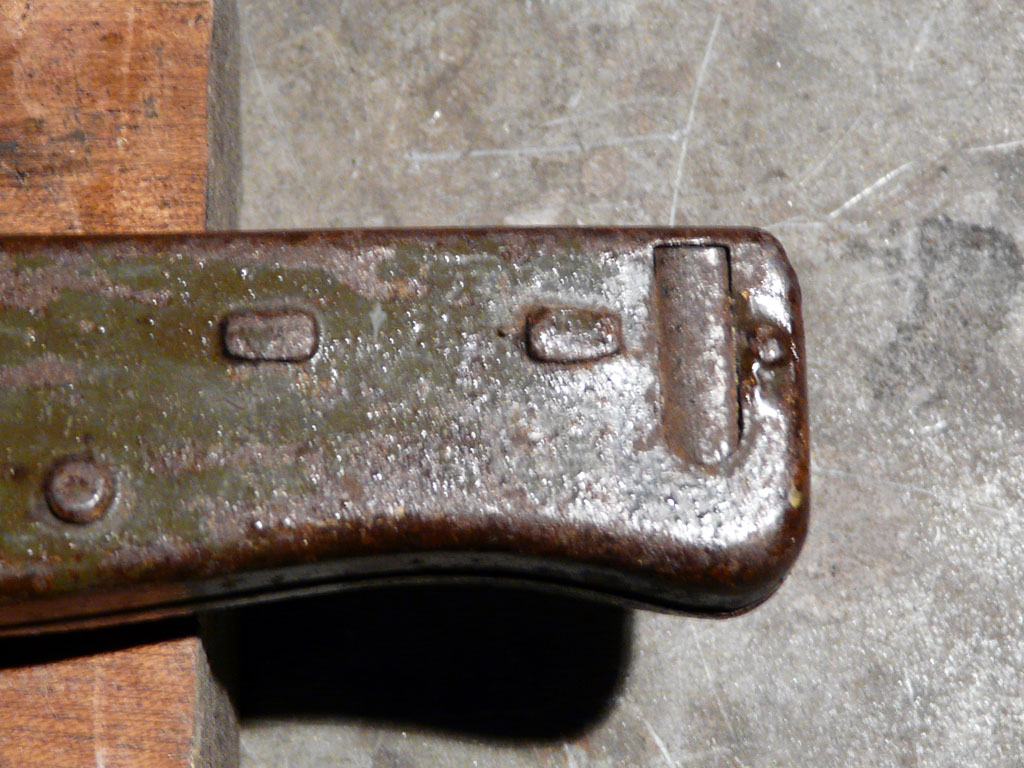
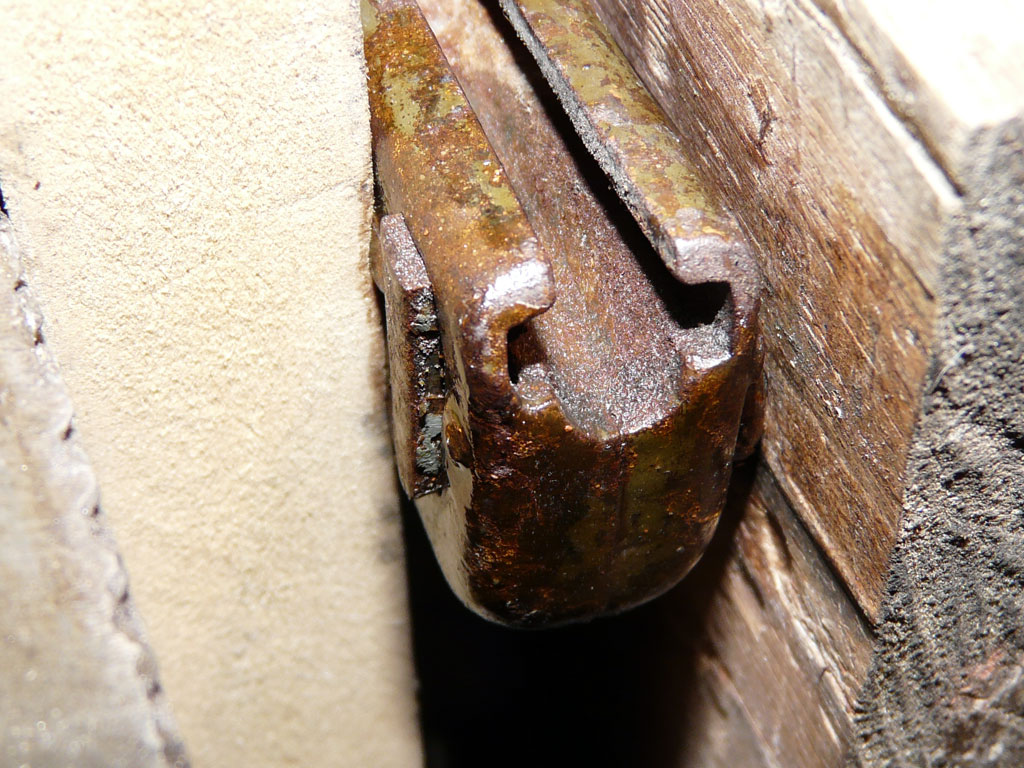
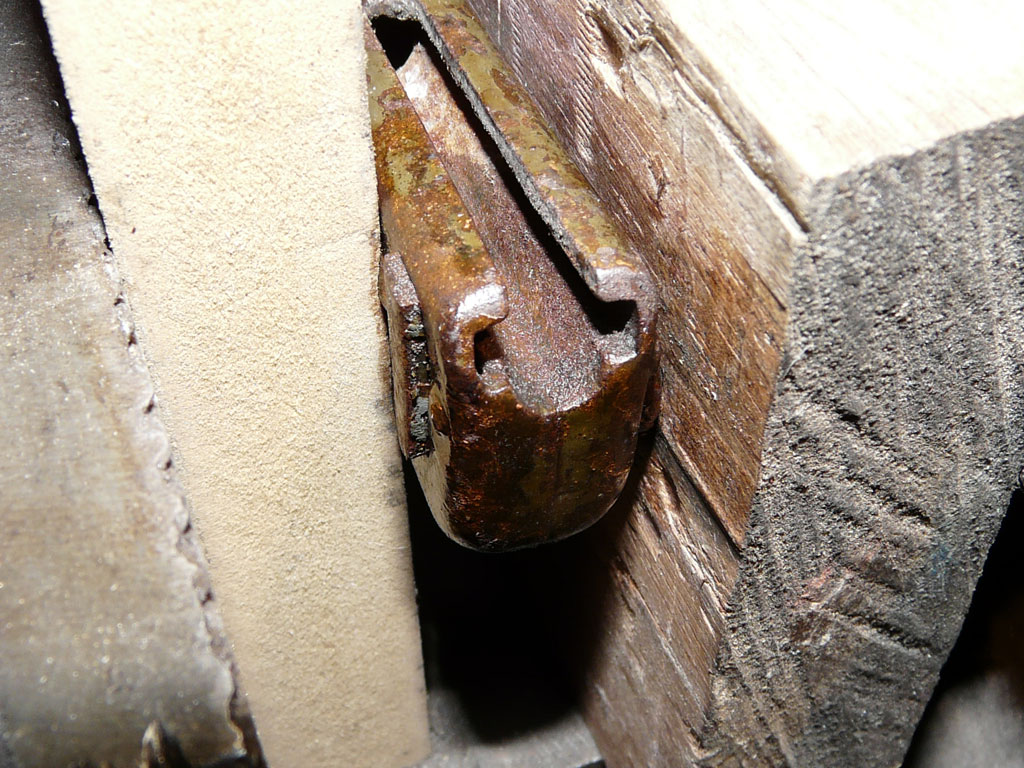
The press stud was blocked by the rust. It was impossible to
hit without breaking something.
A night long soaked with releasing product was
not enough.
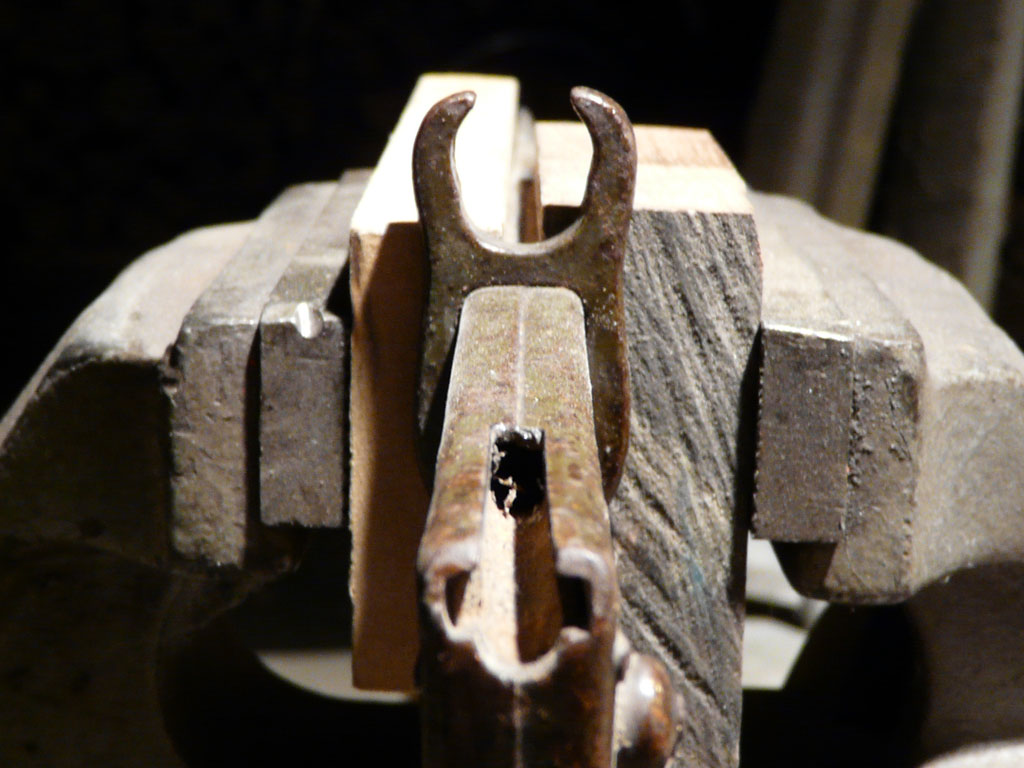
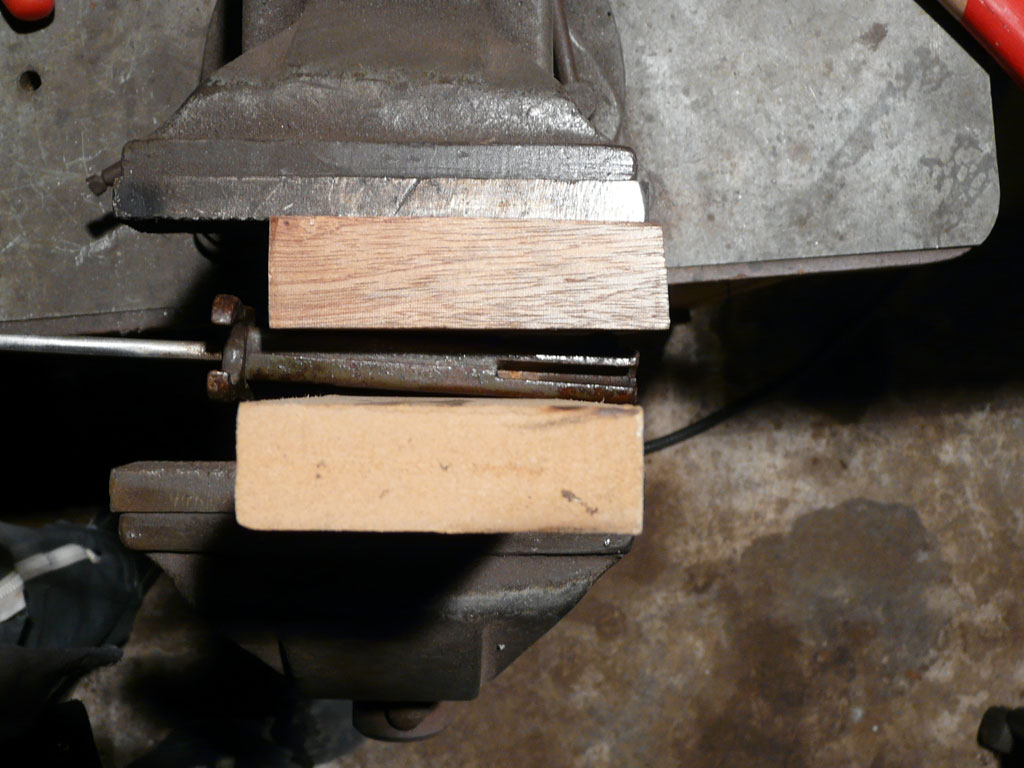
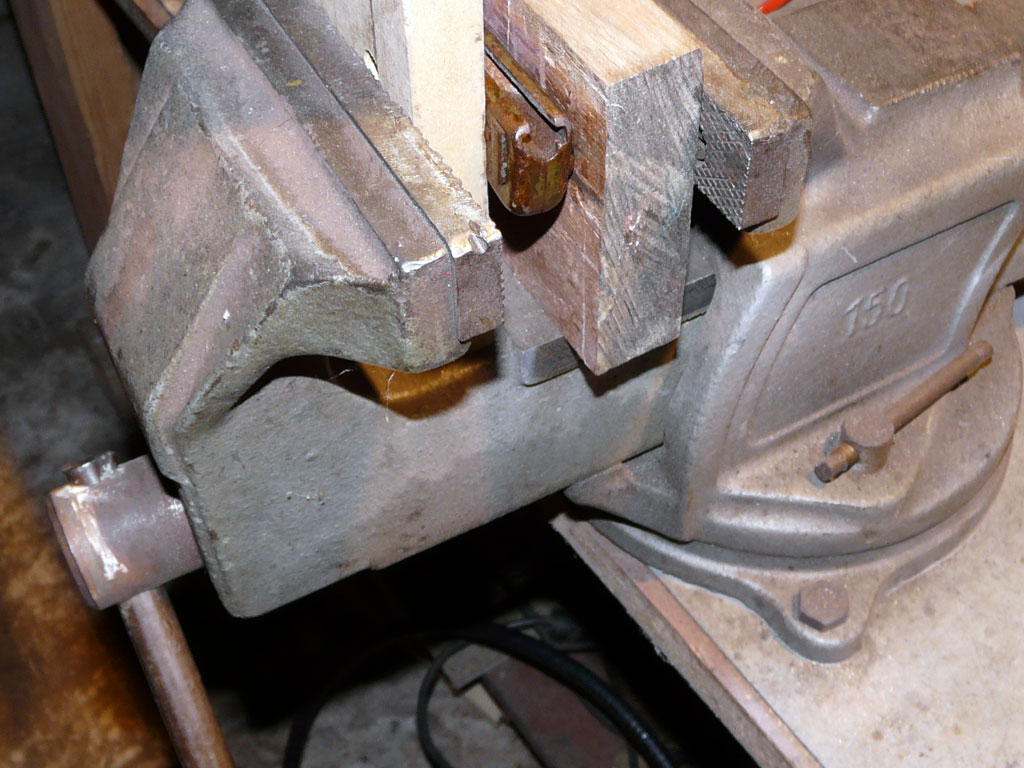
The only way was to use the strength of the jaws of the
vice with using a wooden piece not to mark the handle.
As the crank
turns, the press stud is released.
Otherwise a nail has to be heated to
expand the nut.
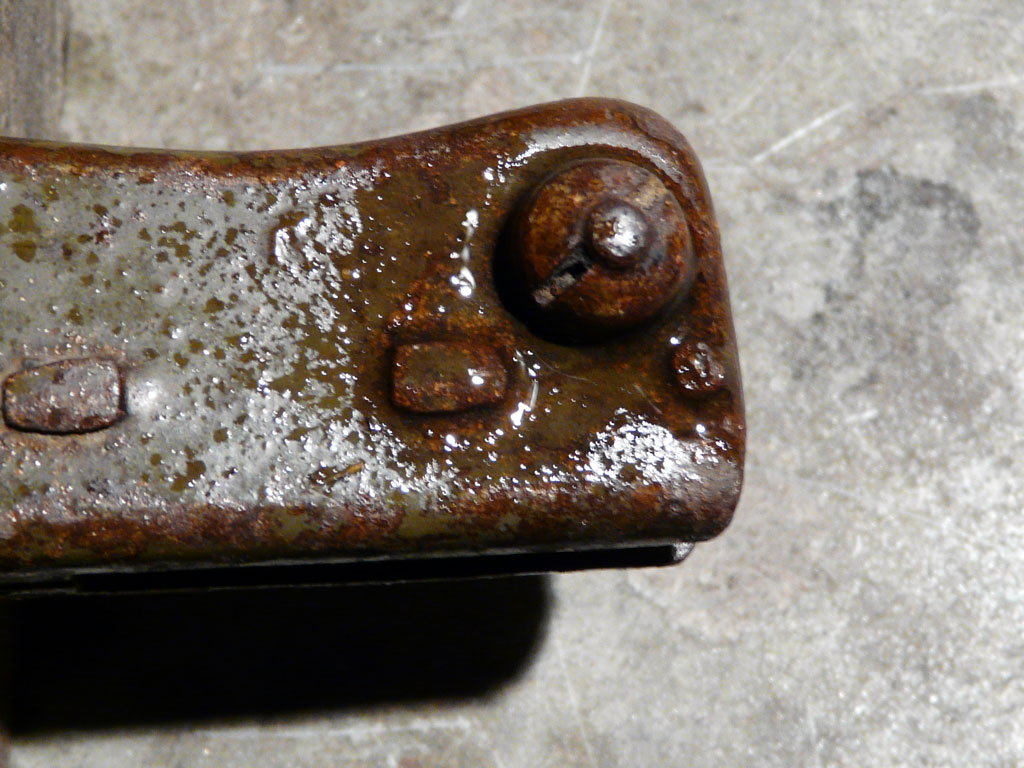
We used a oak wood piece on the side of the press stud so that
it didn’t penetrate into the wood fibers.
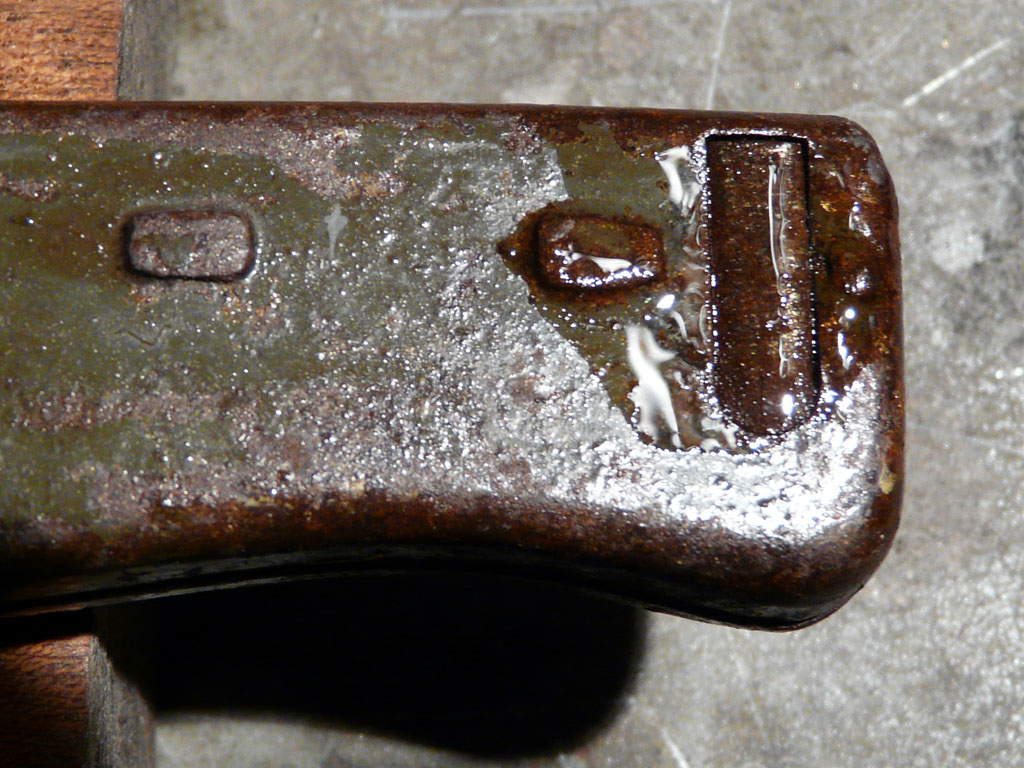
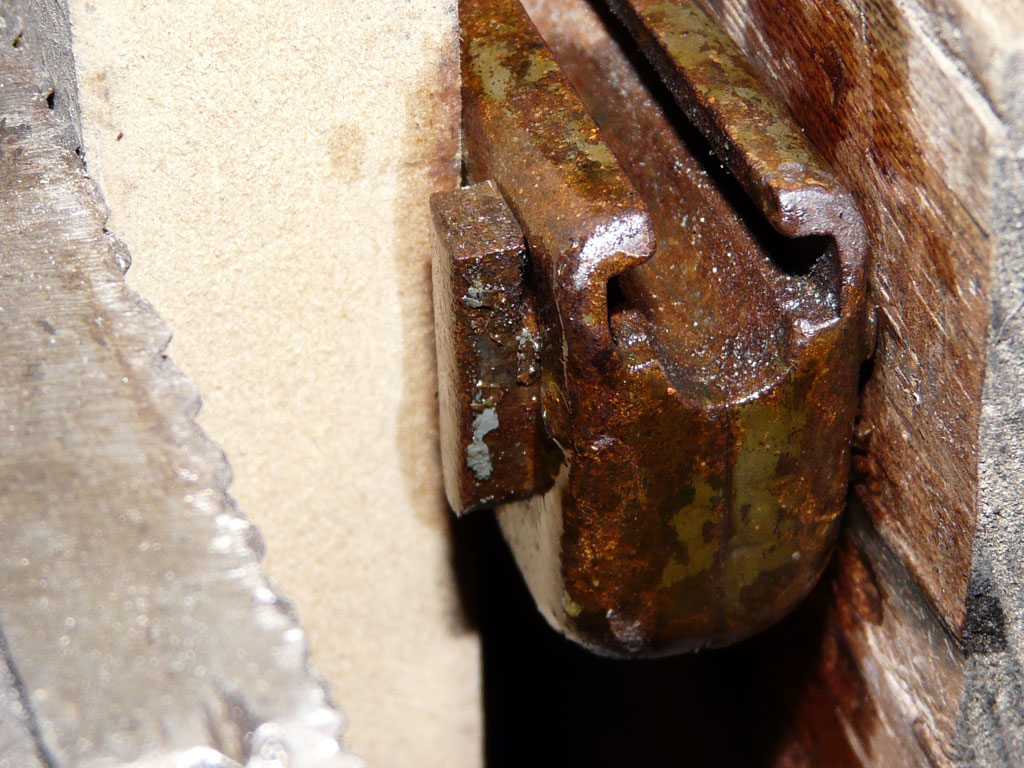
We notice in these photos of
the thickness of the rust that blocked the press stud.
We will not
forget to clean with a flexible threads brush around the press stud and
to oil the spring in the handle.
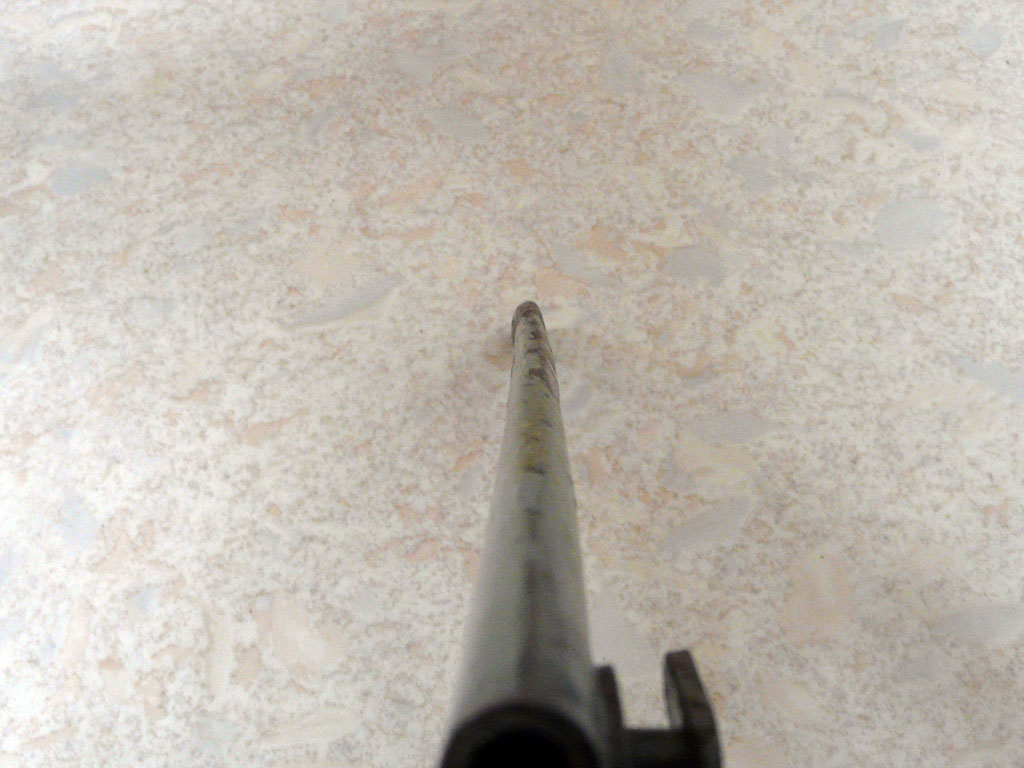
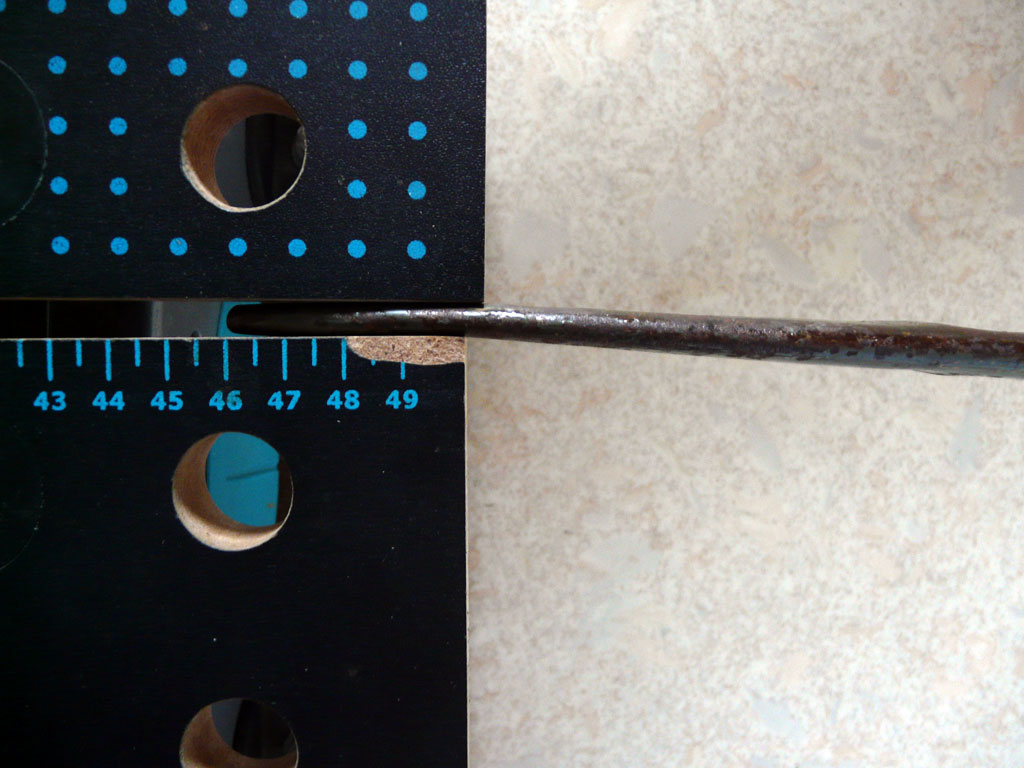
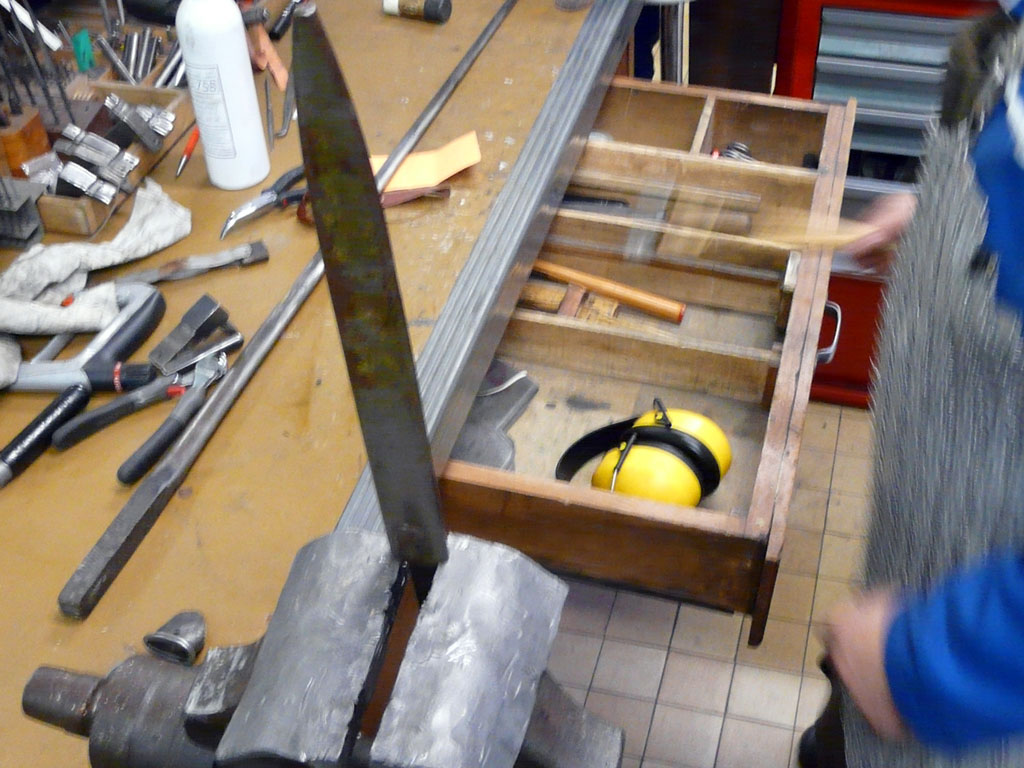
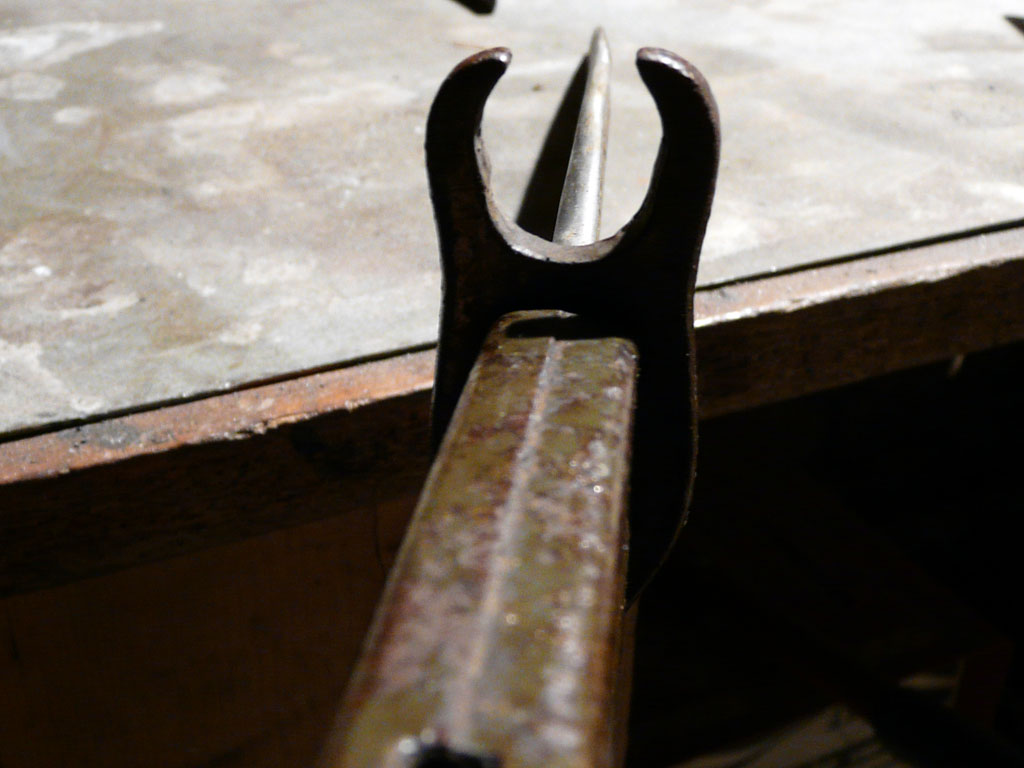
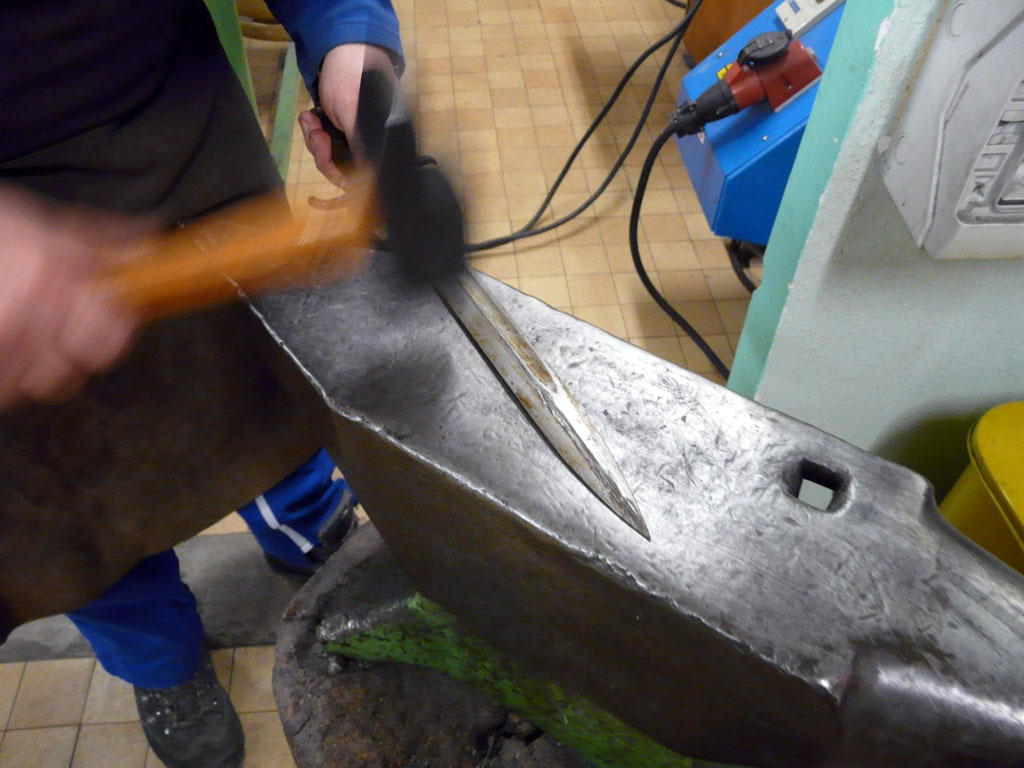
The blade was bent and
twisted and I firstly worked on the bent part because the twisted part
threatened the disruption of the blade.
I tried several solutions but
the best was the use of an anvil. I didn’t want to red heated this
blade because it would have affected the hardness.
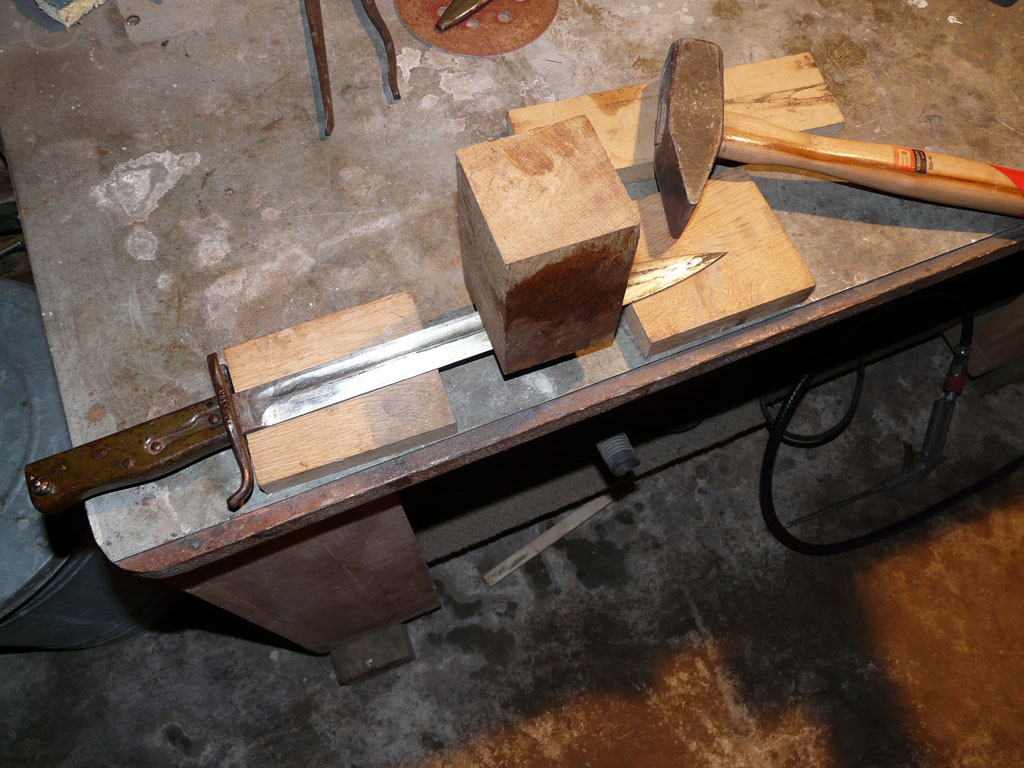

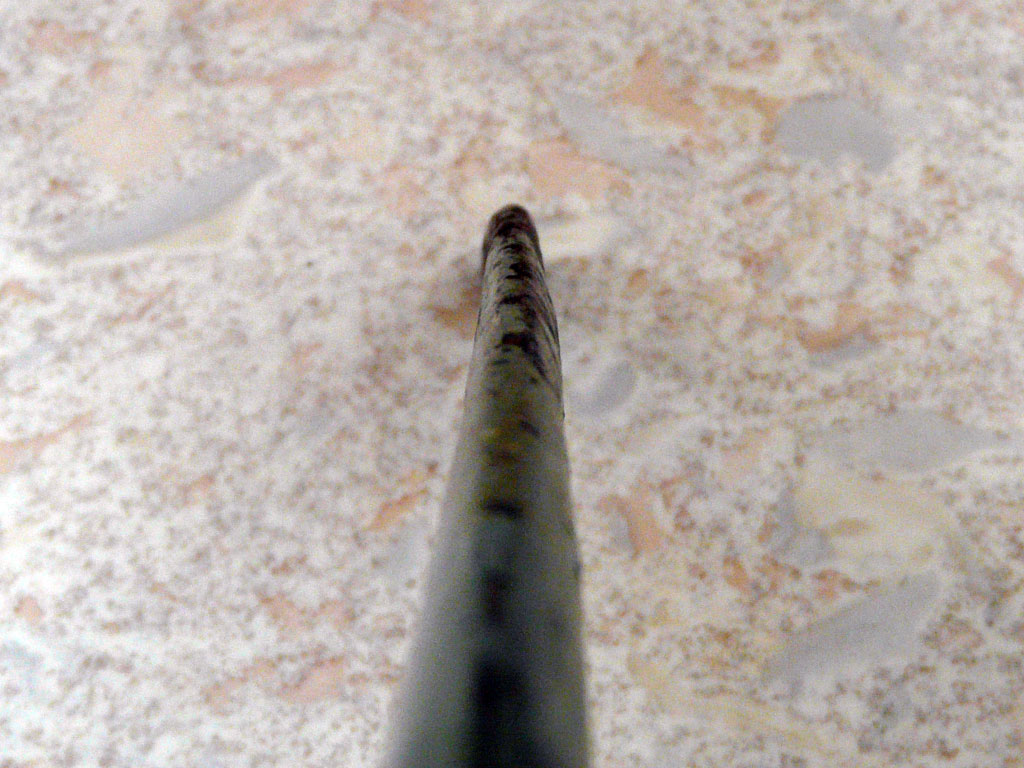
The work with an anvil is a delicate task and it requires some experience. We can get satisfaction if we hit carefully with a hammer. We often check the shape without any chances to remove totally the twisted part.
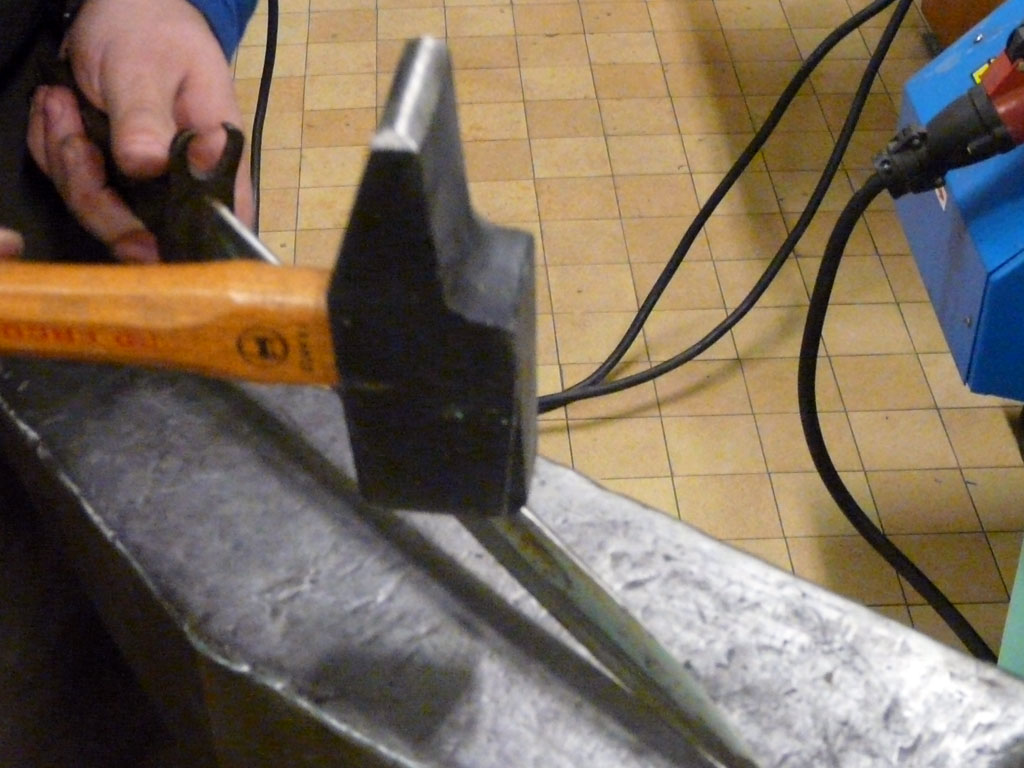
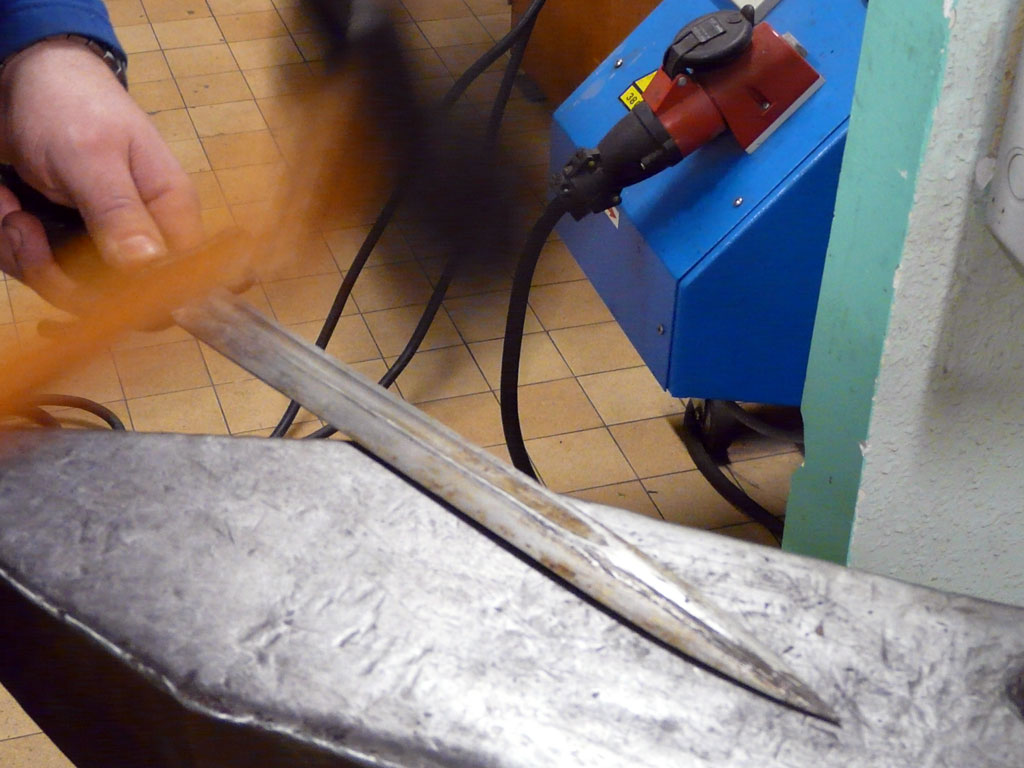
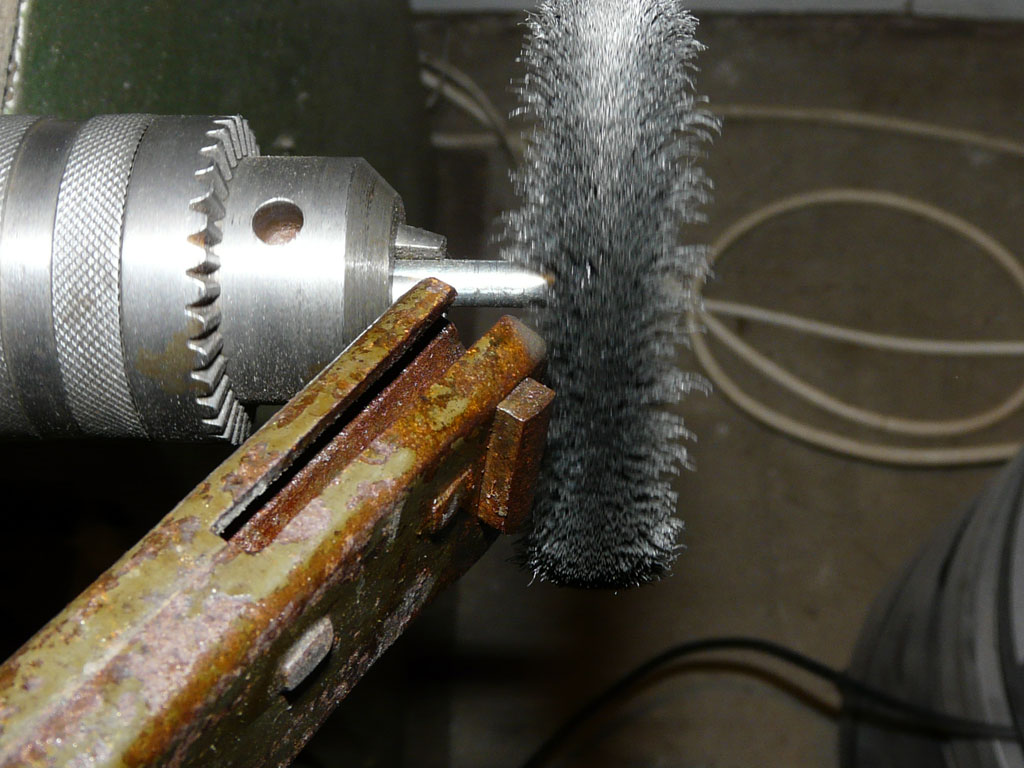
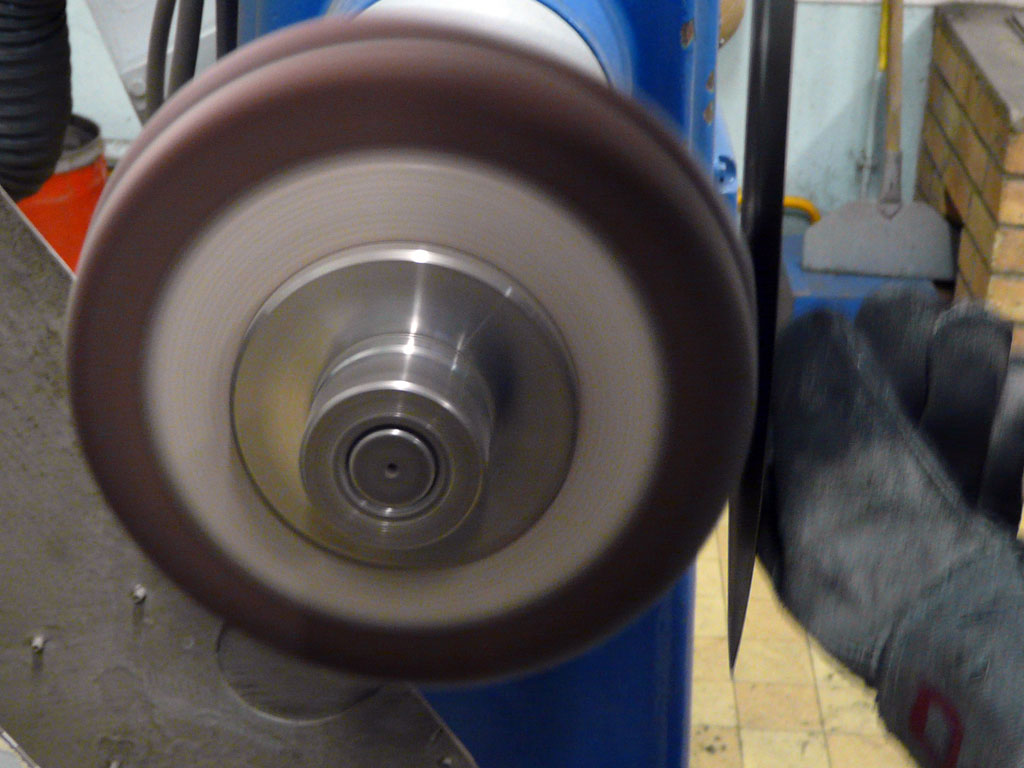
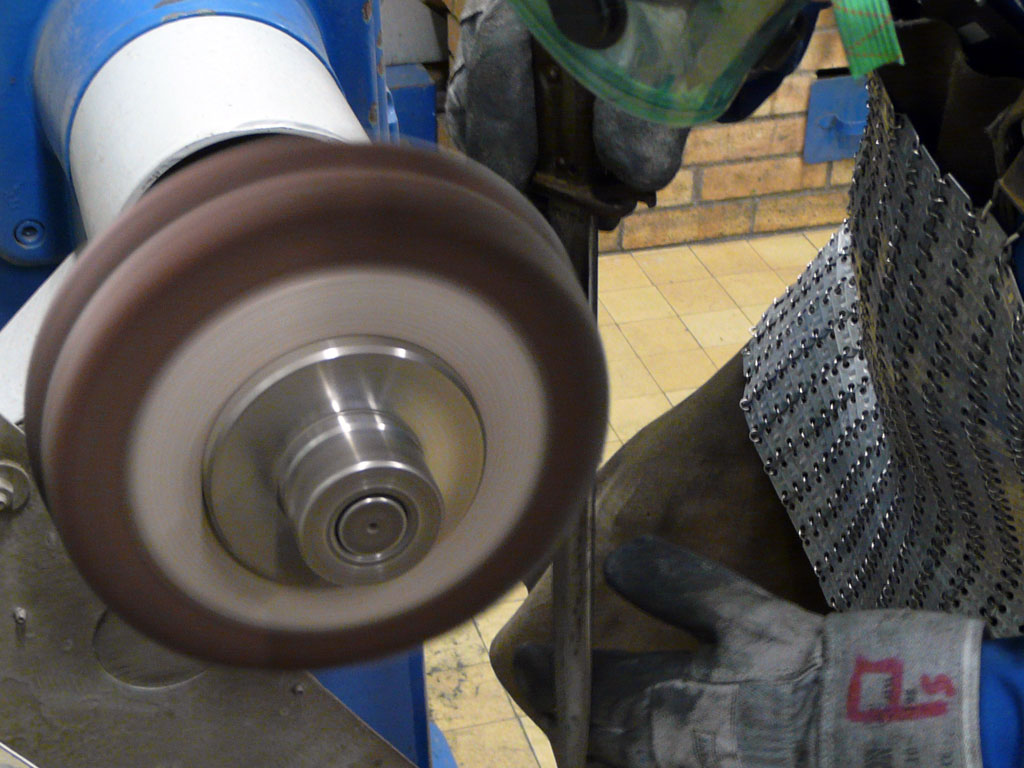
When we are satisfied of
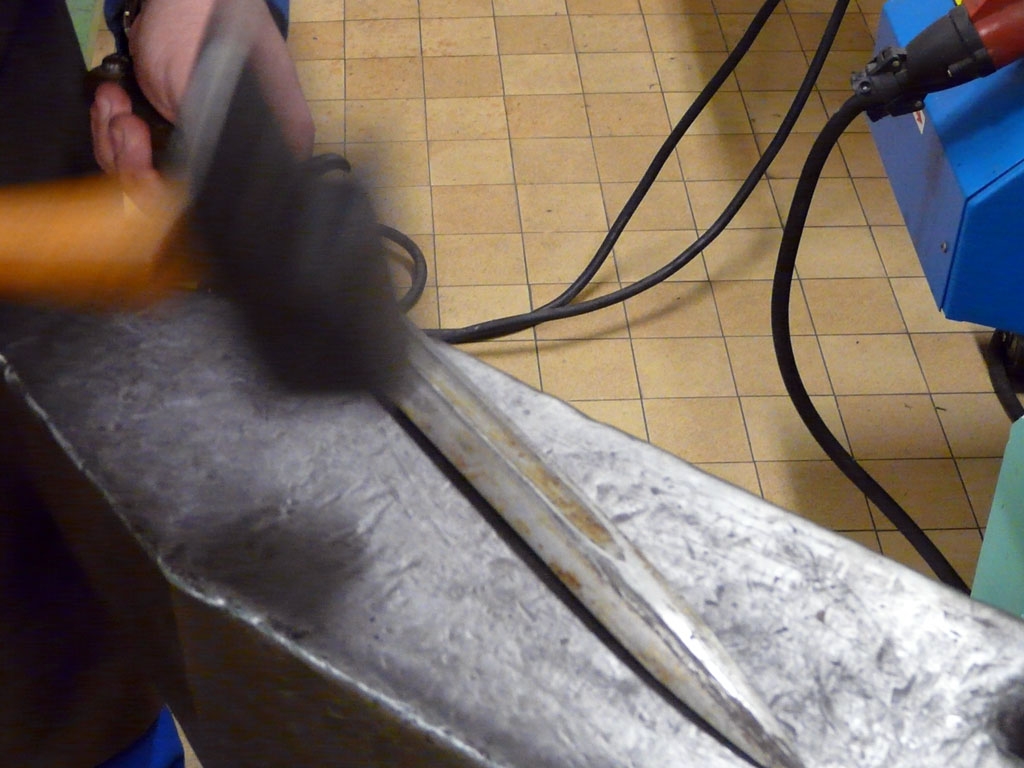
the final result we can use a drum to clean the surface rust and the
dried grease.
I use a brush that does not scratch as a sponge dishes.
This brush, which rotates rapidly, has to be already used, avoiding a
polishing which would make the blade bright.
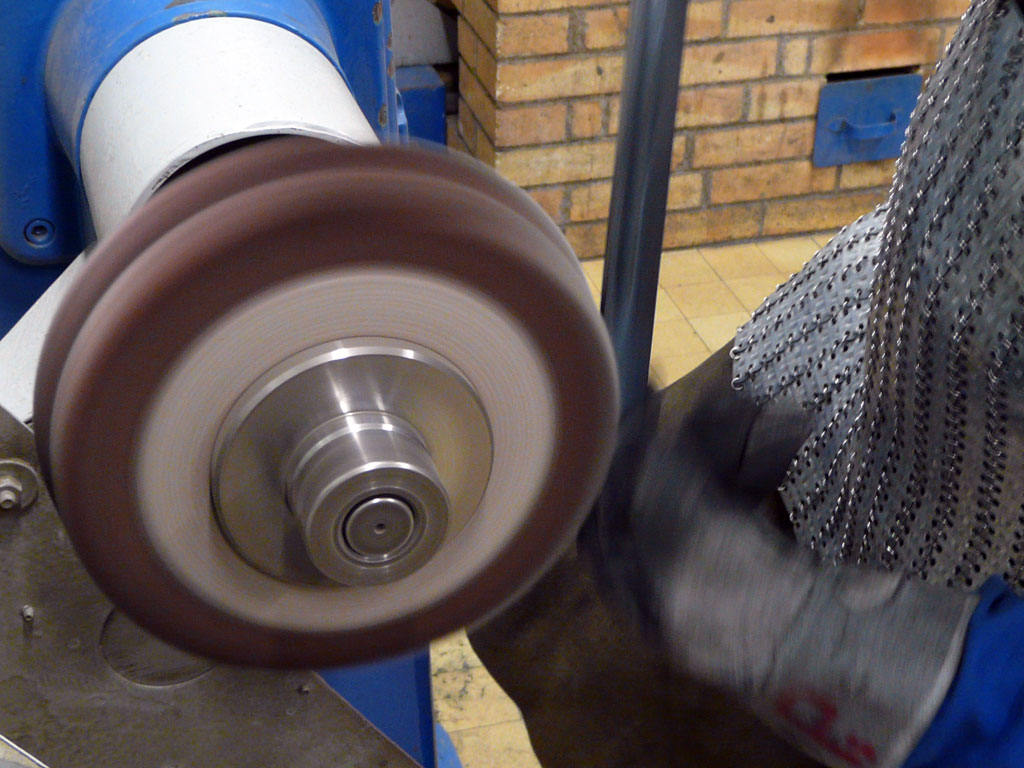
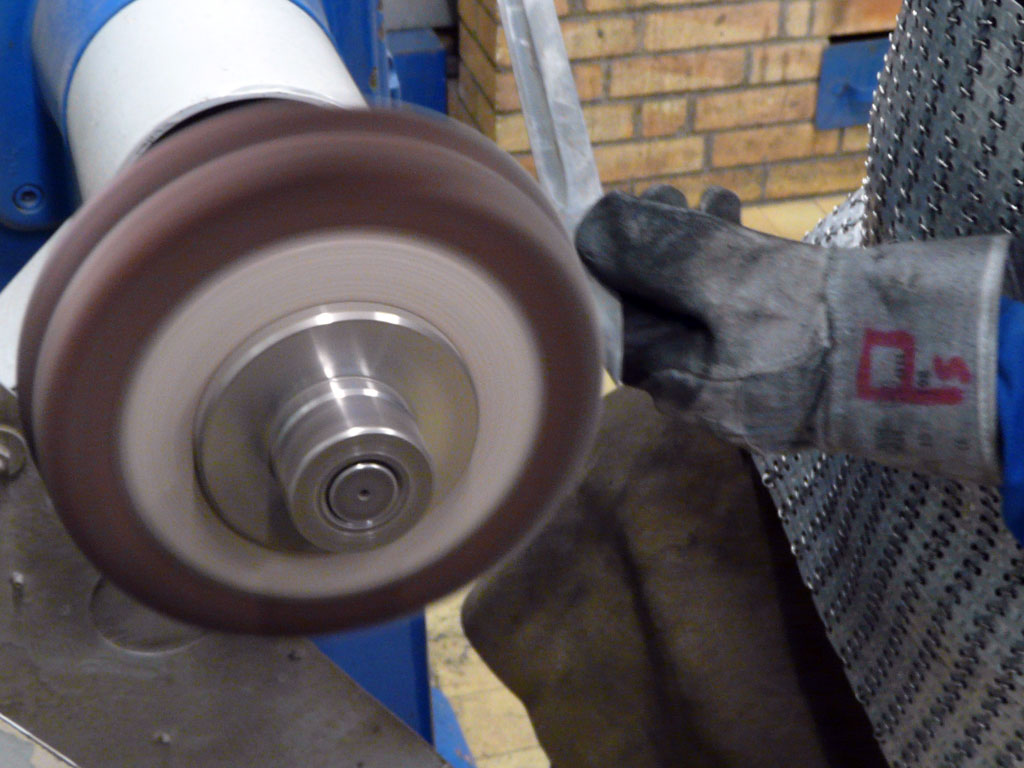
It use the brush along the
blade length being careful not to dull the edges of the the
crossguard.
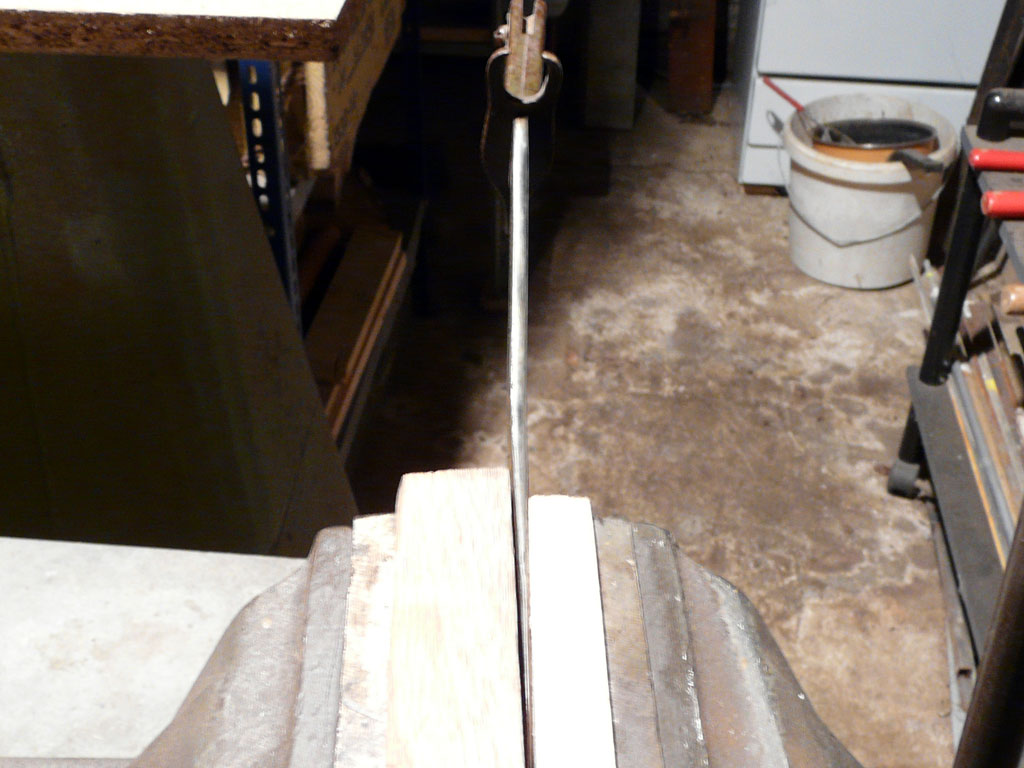
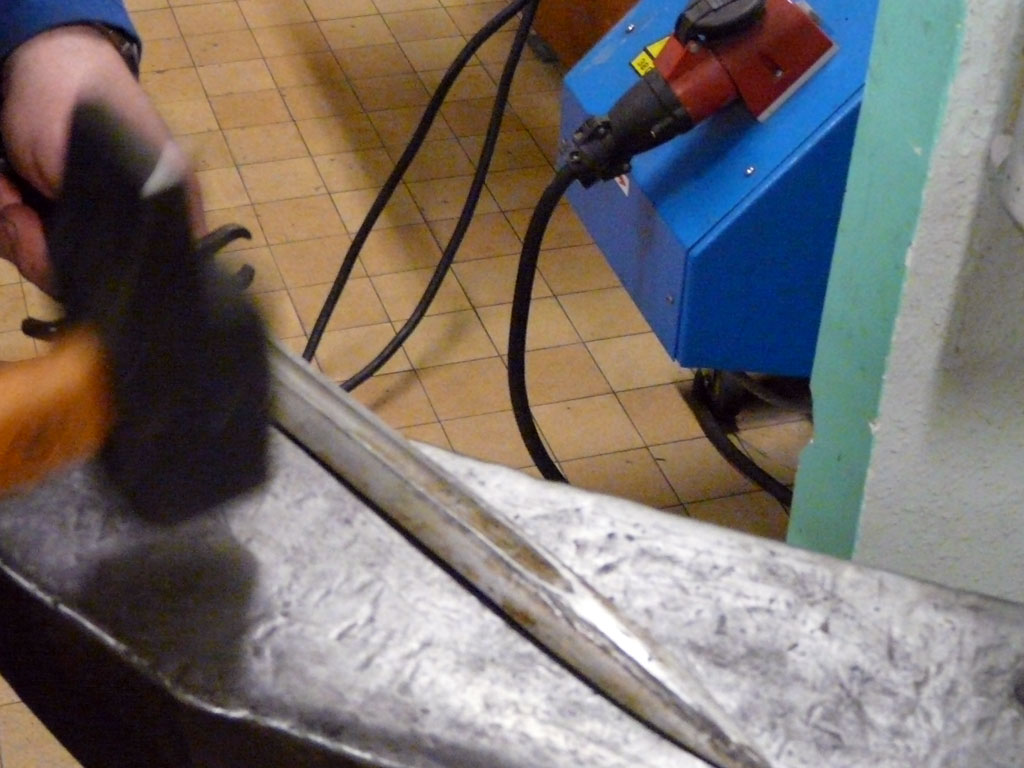
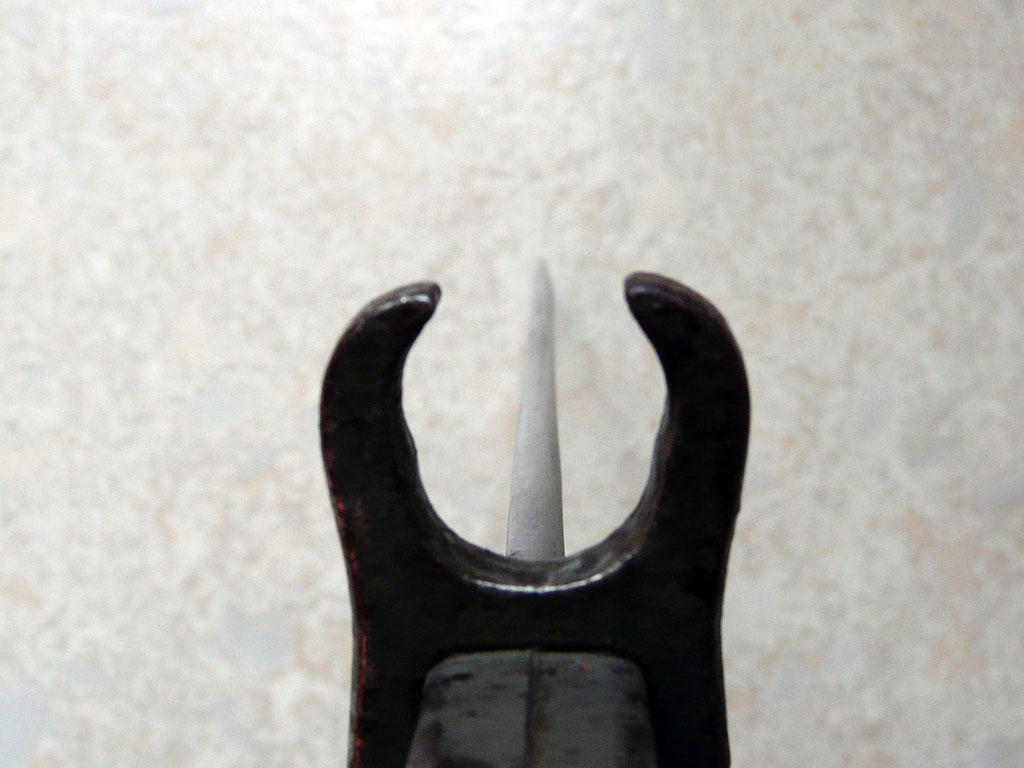
We do the same for the
blade edges. We hold the blade horizontal and we manipulate it or we
hold it in an upright position by tilting it slightly.
This is the only way to
avoid rounding the angles.
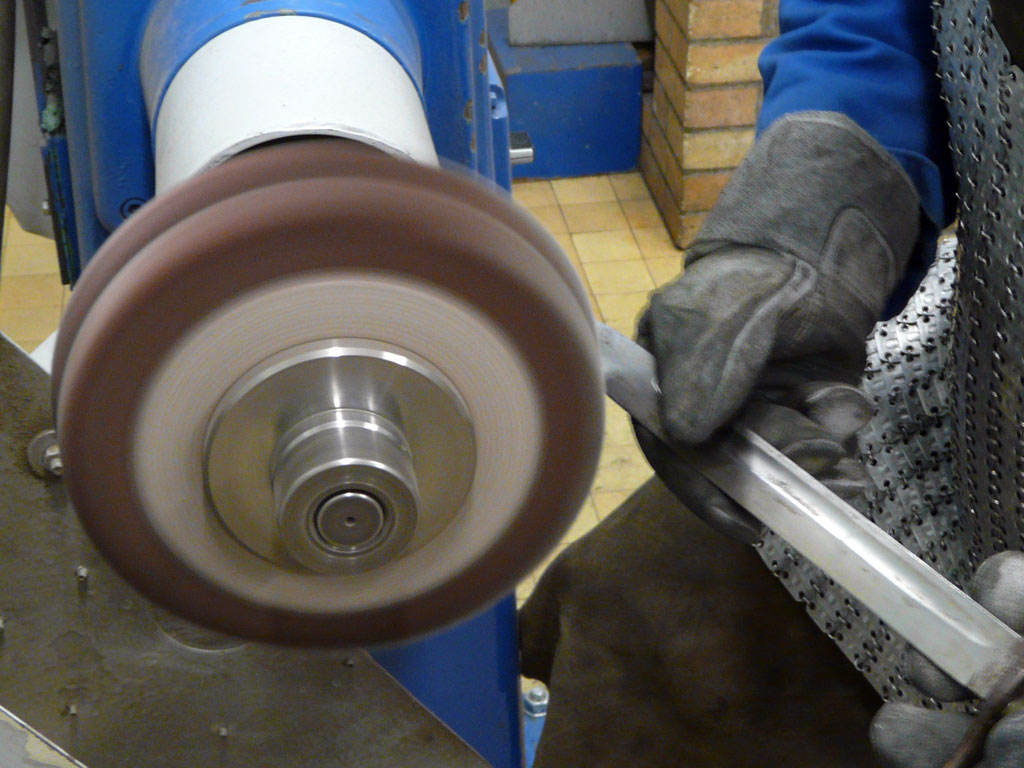
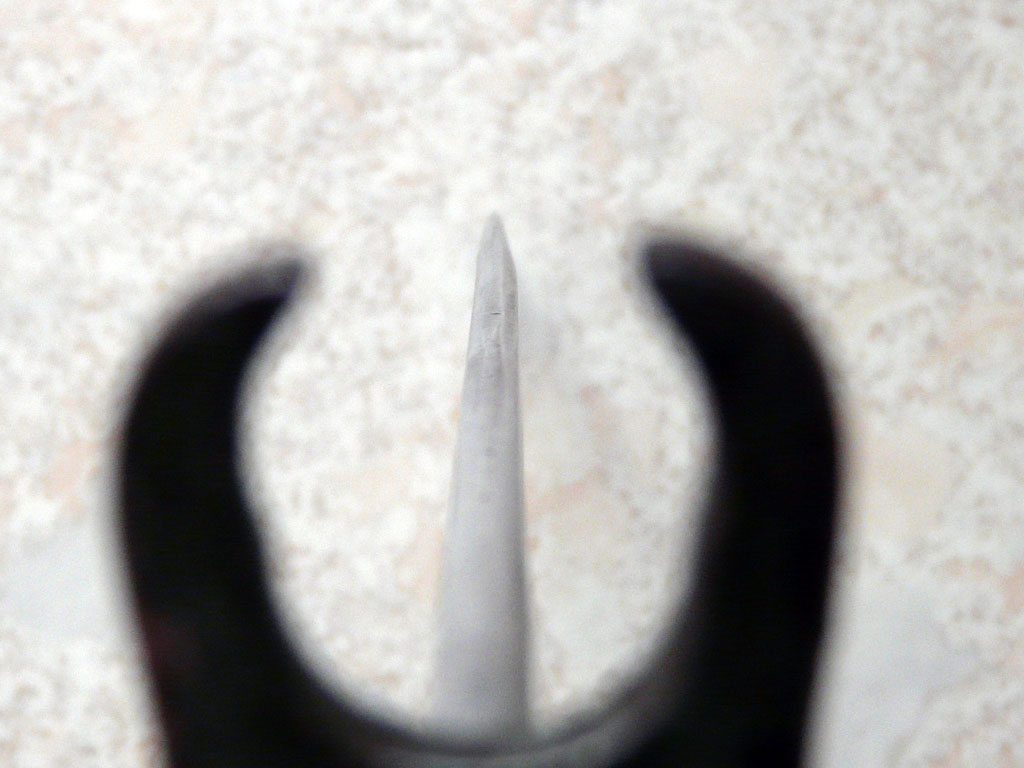
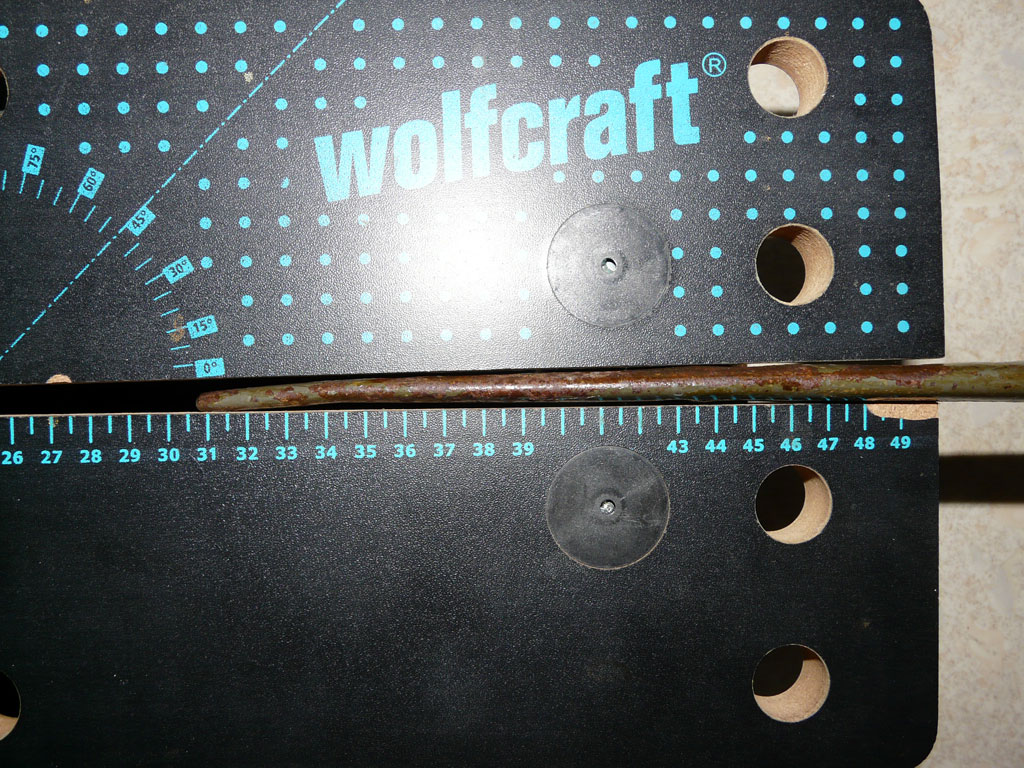
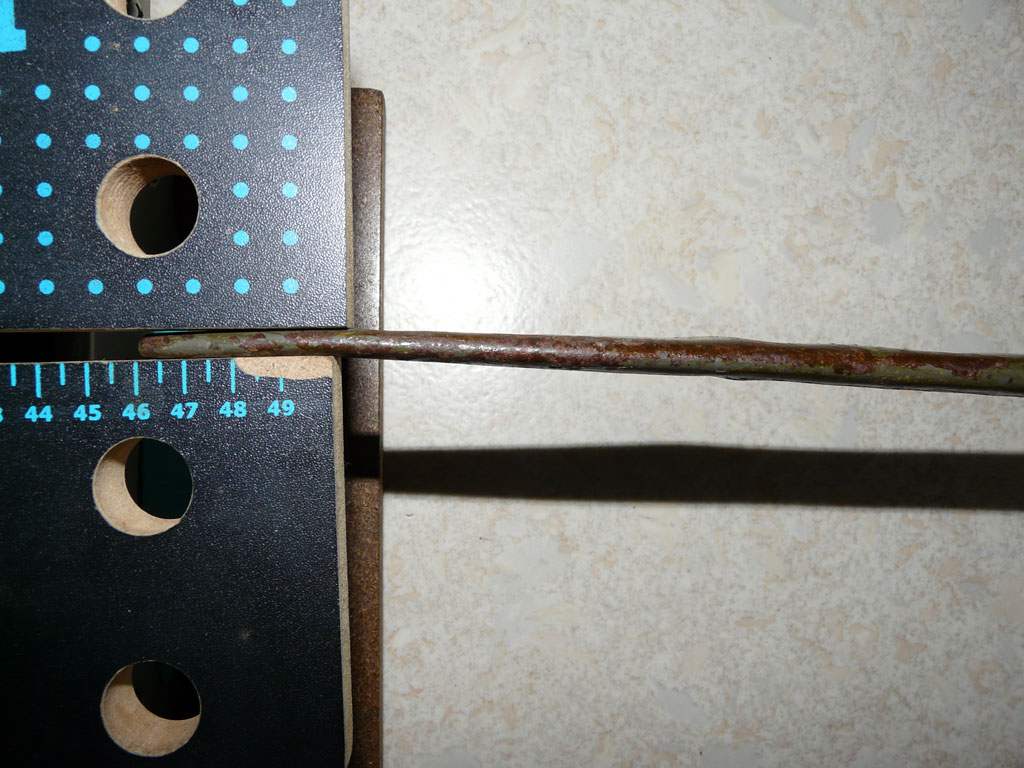
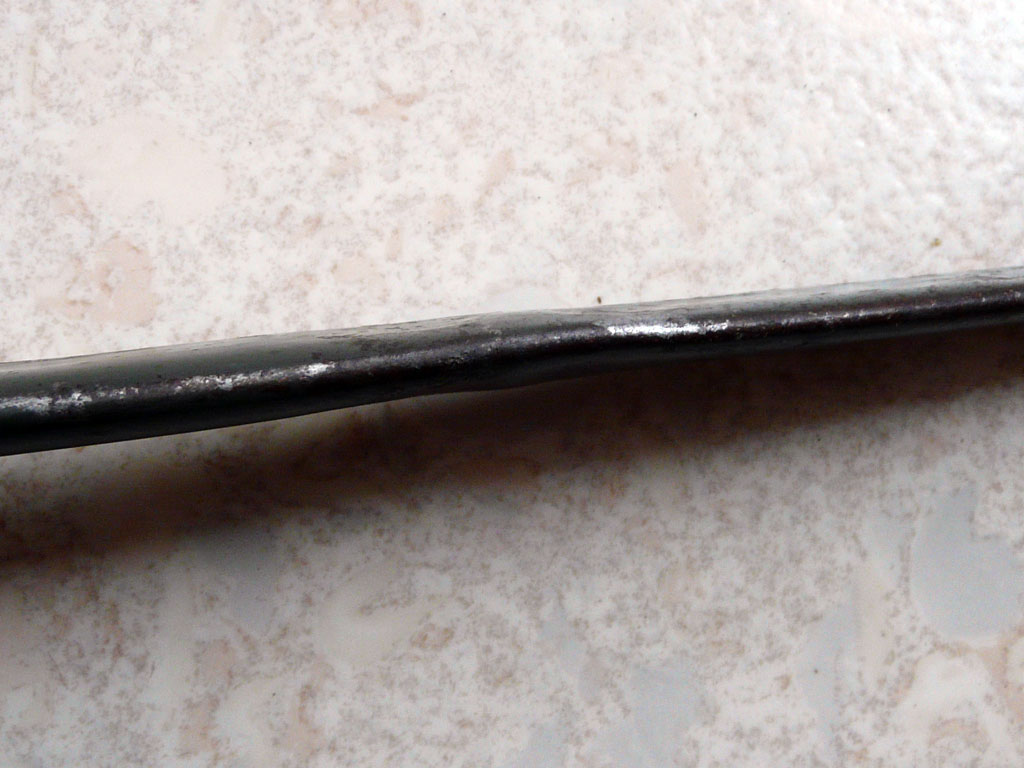
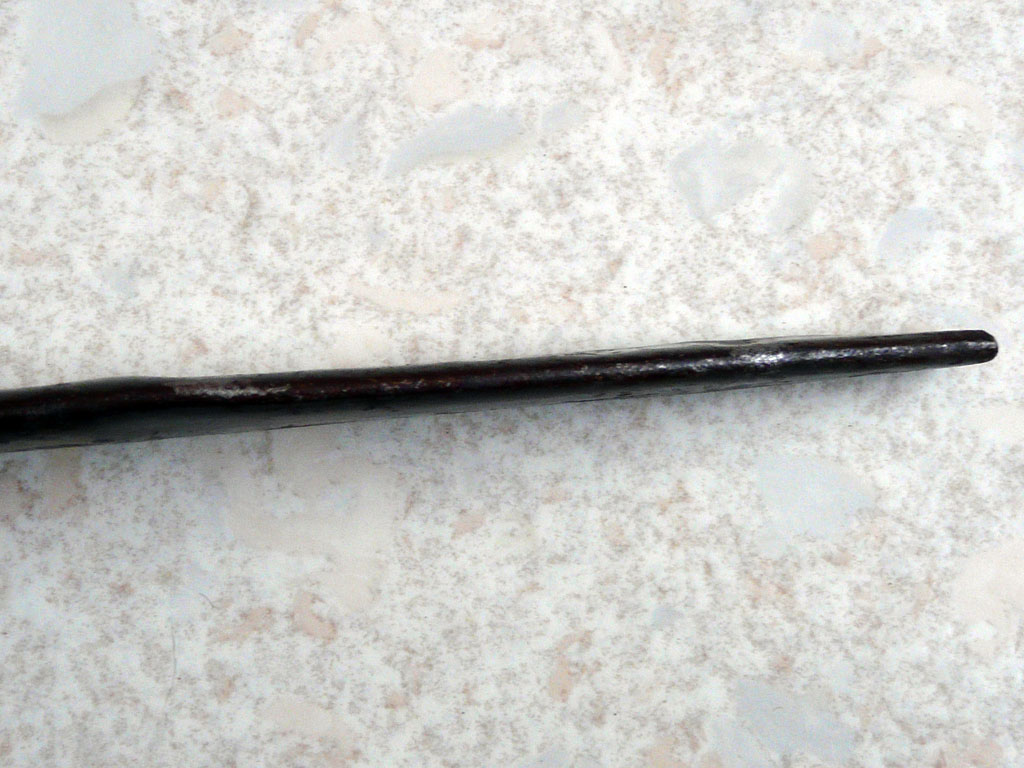
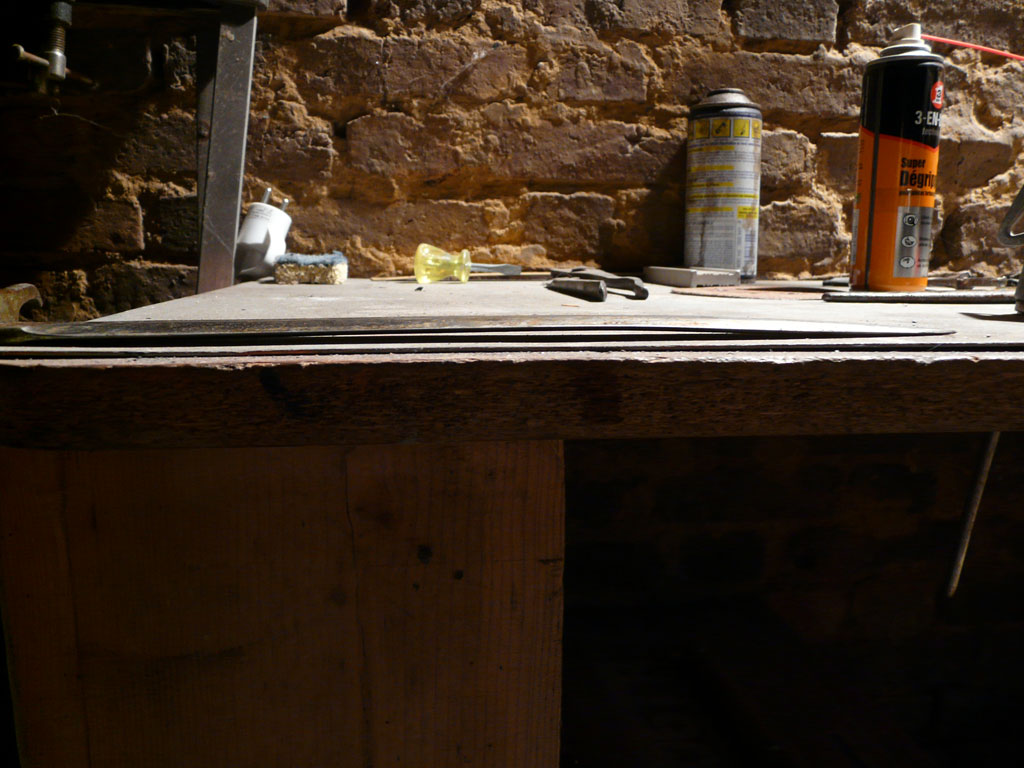
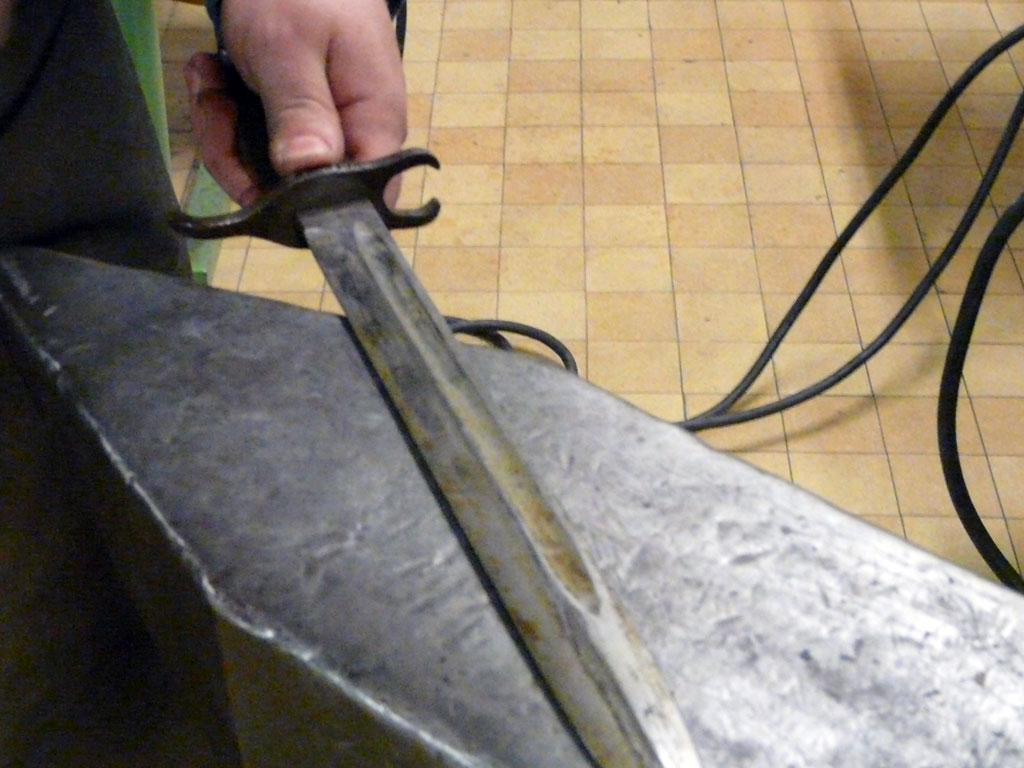
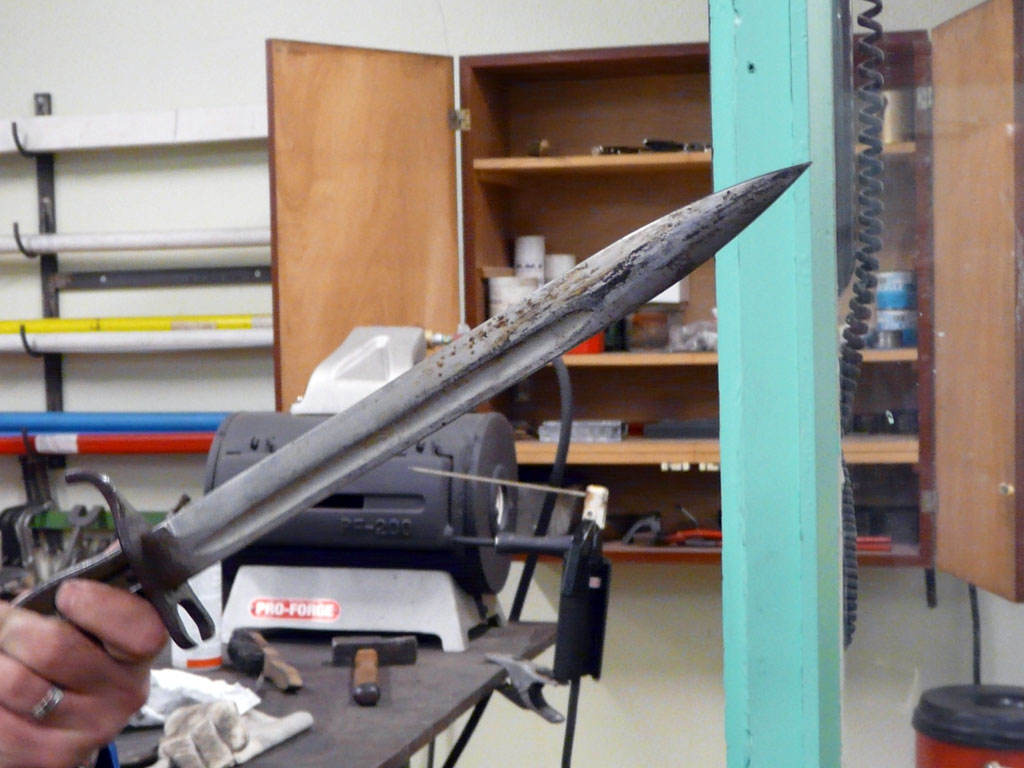
The blade is nearly
straightened even if there is still a small spin but it fits the
scabbard now.
A little bit of oil on all
the surface to neutralize the rust that I usually do not remove on the
ersatz bayonets.
To find this bayonet in
the ersatz bayonets table, you can click here.
